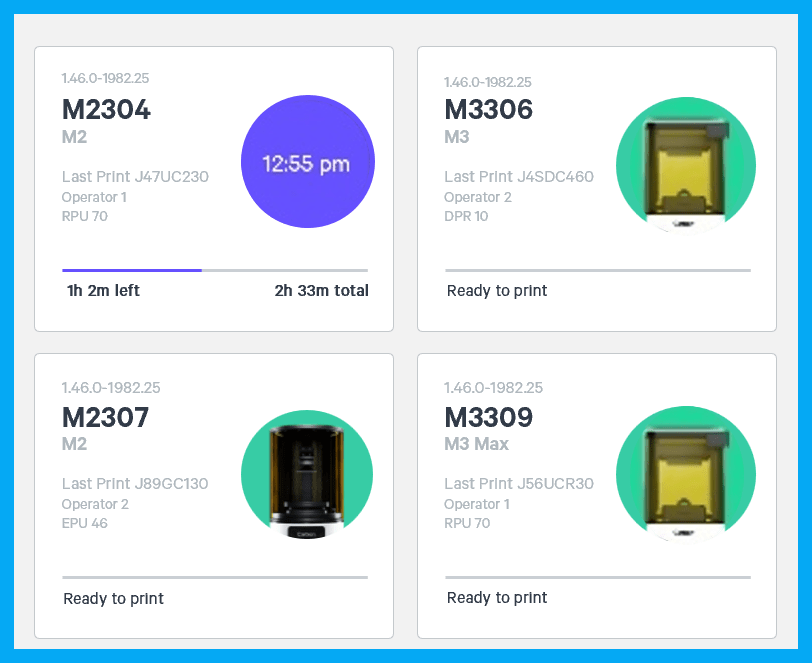
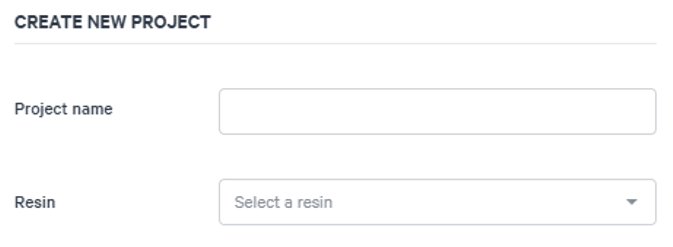
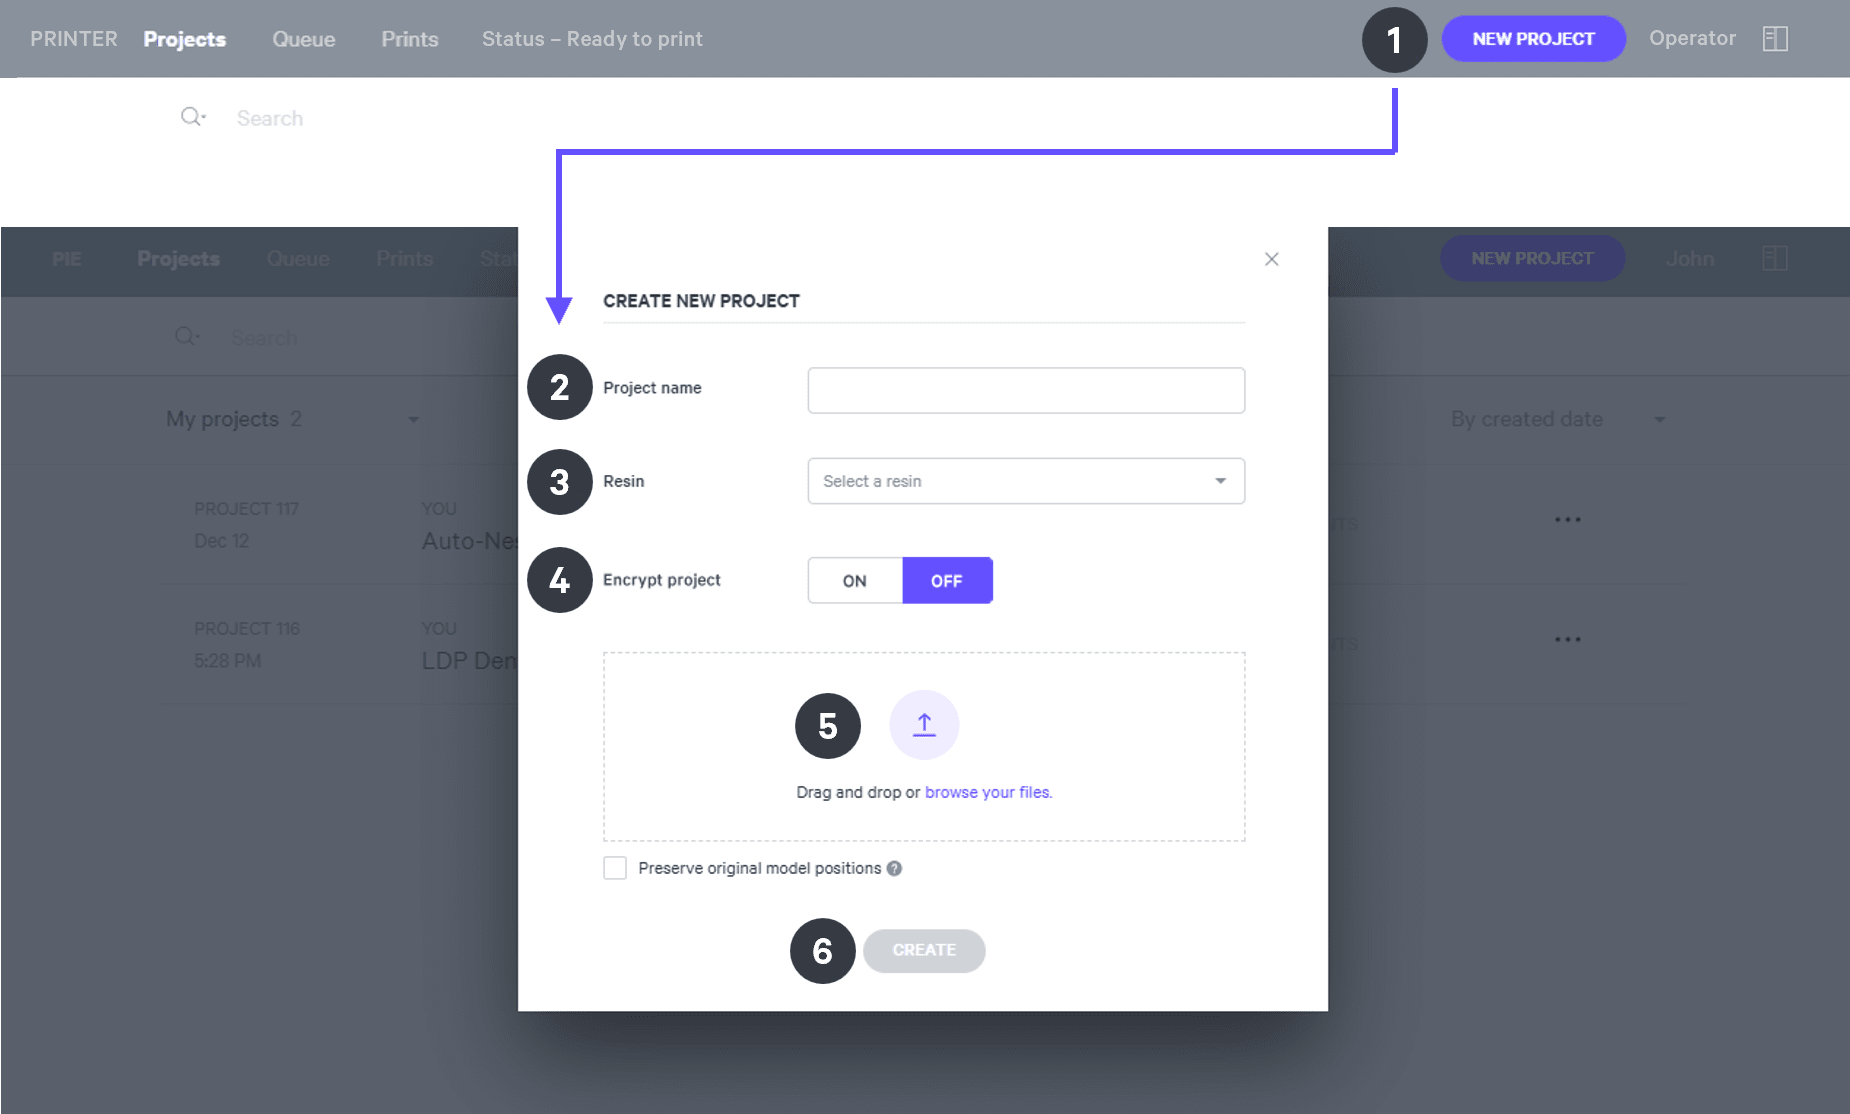
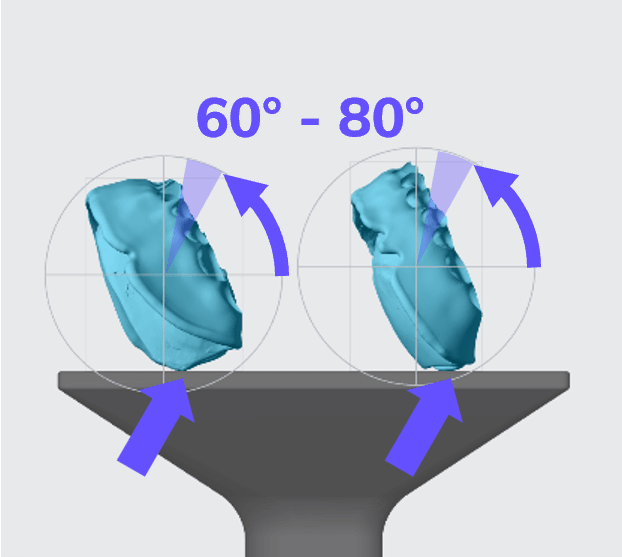
Carbon DB 4000
16 min
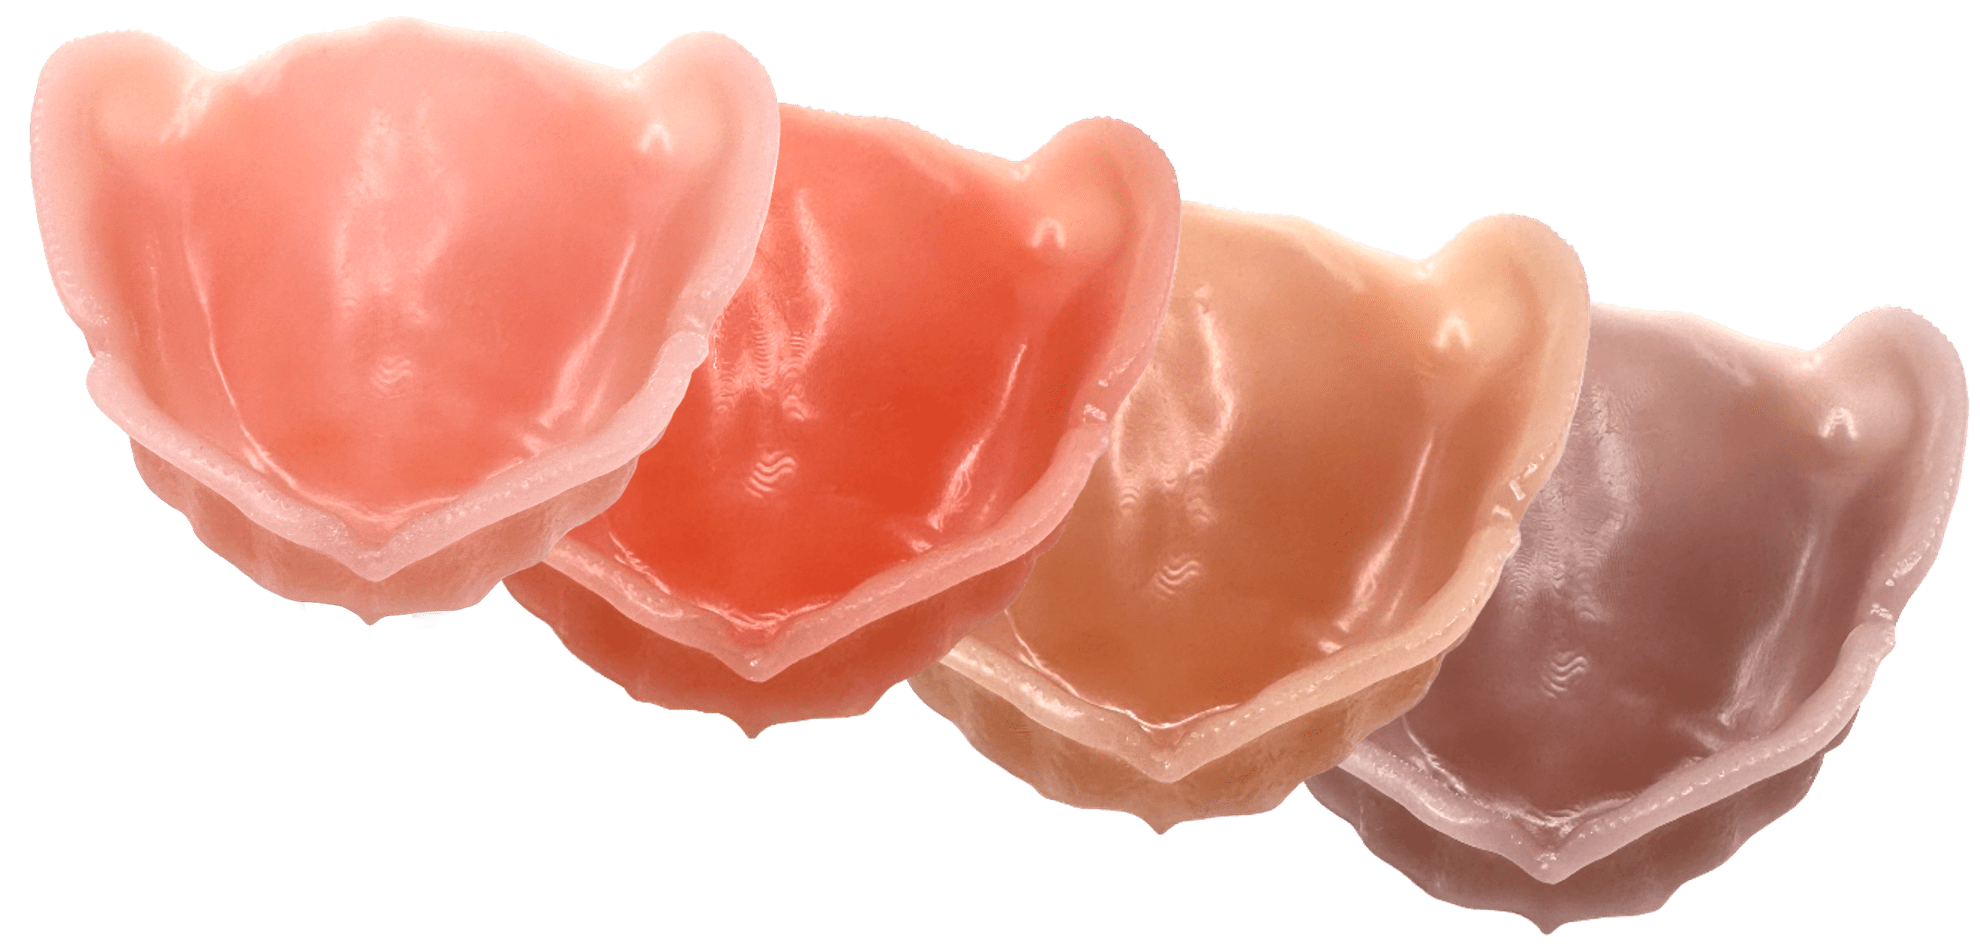
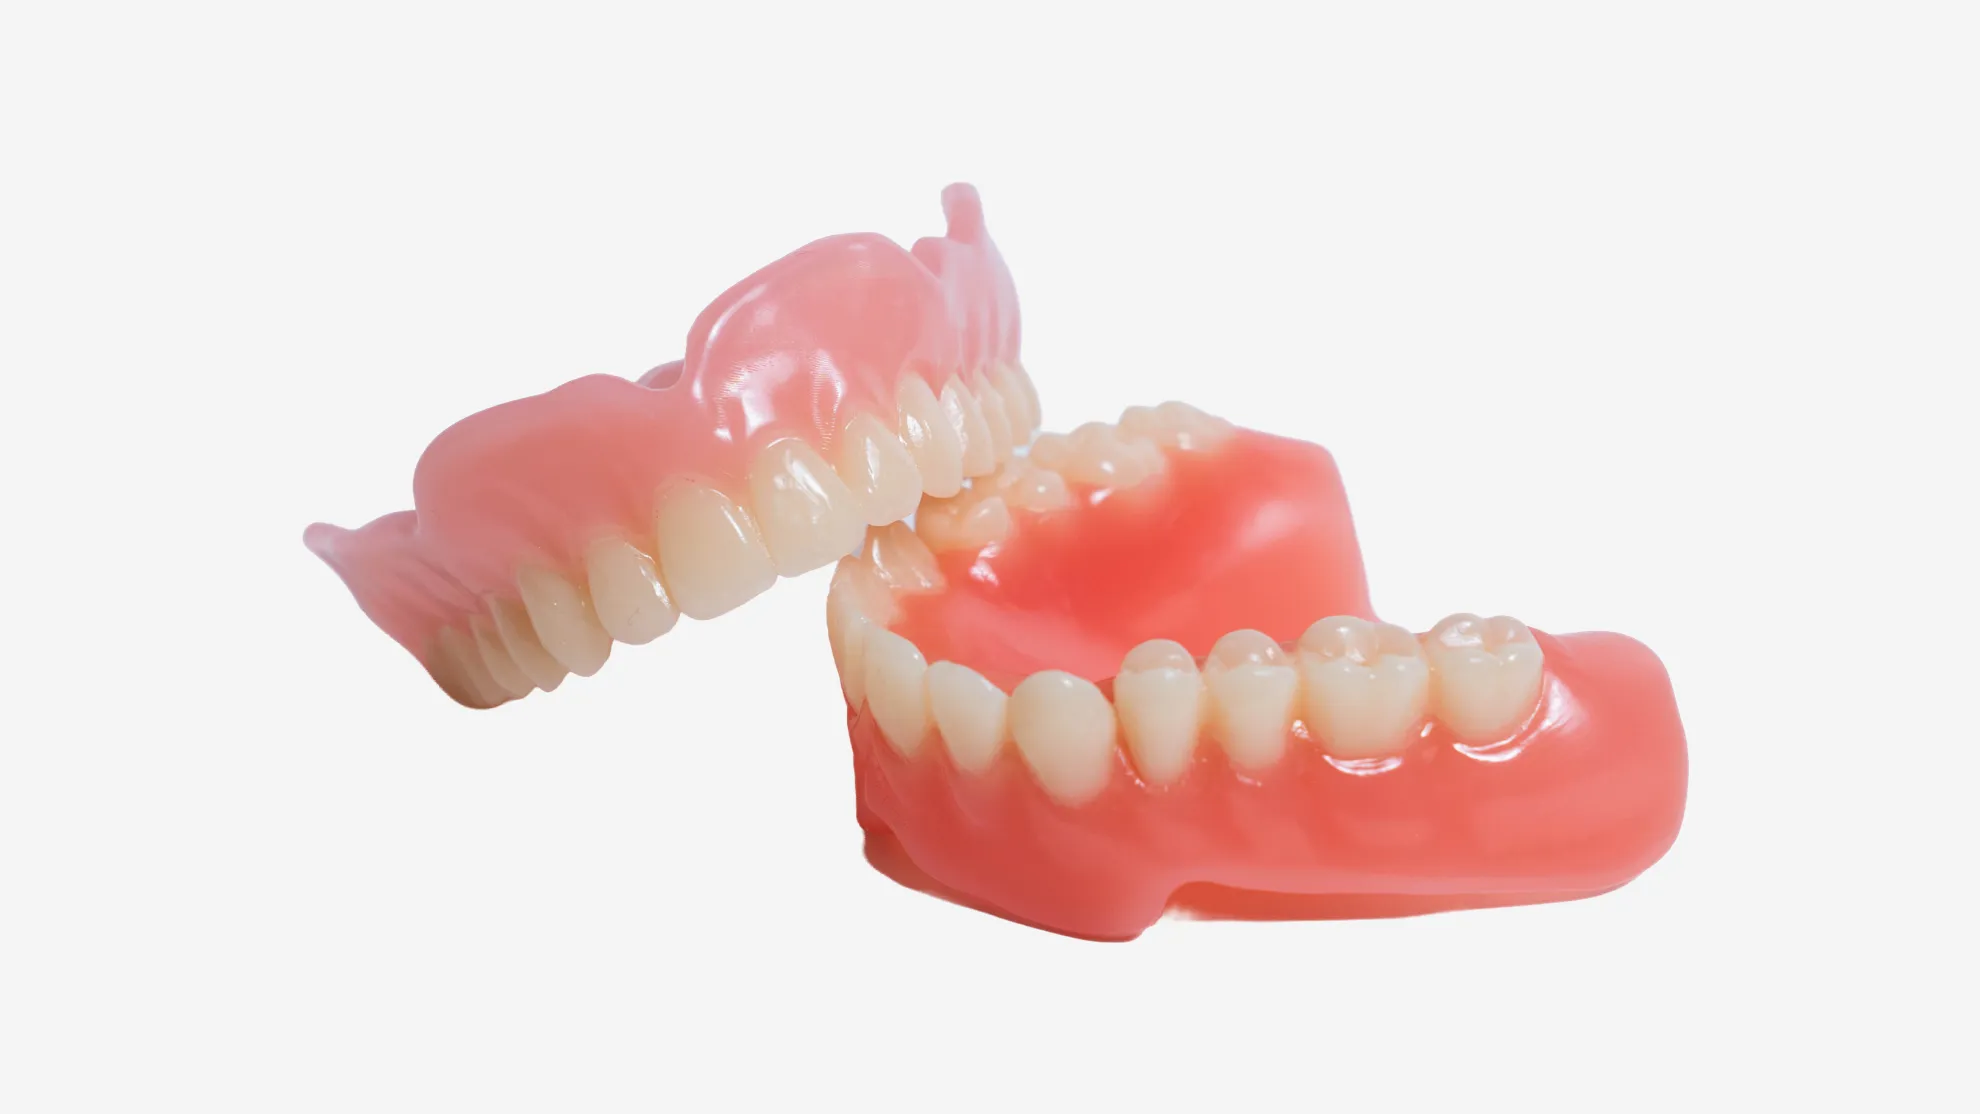
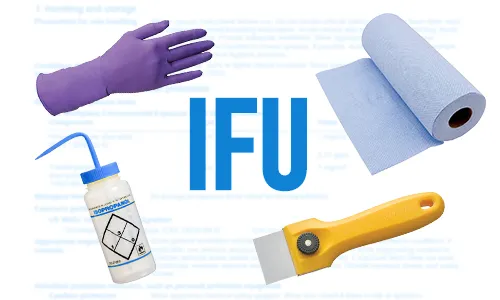
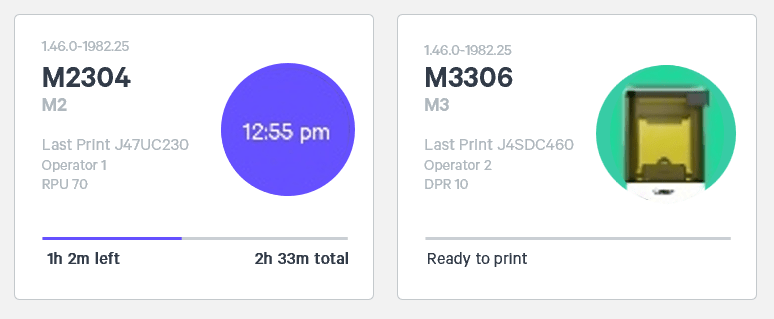
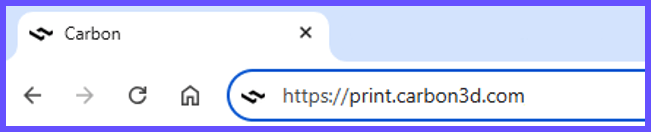
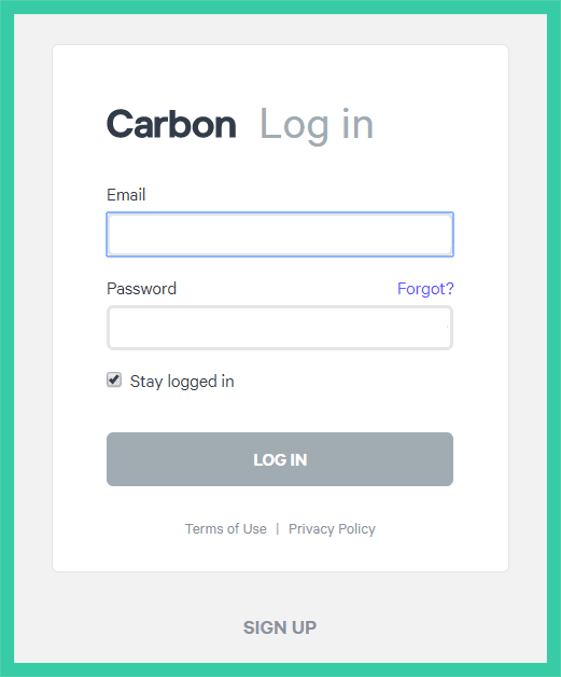
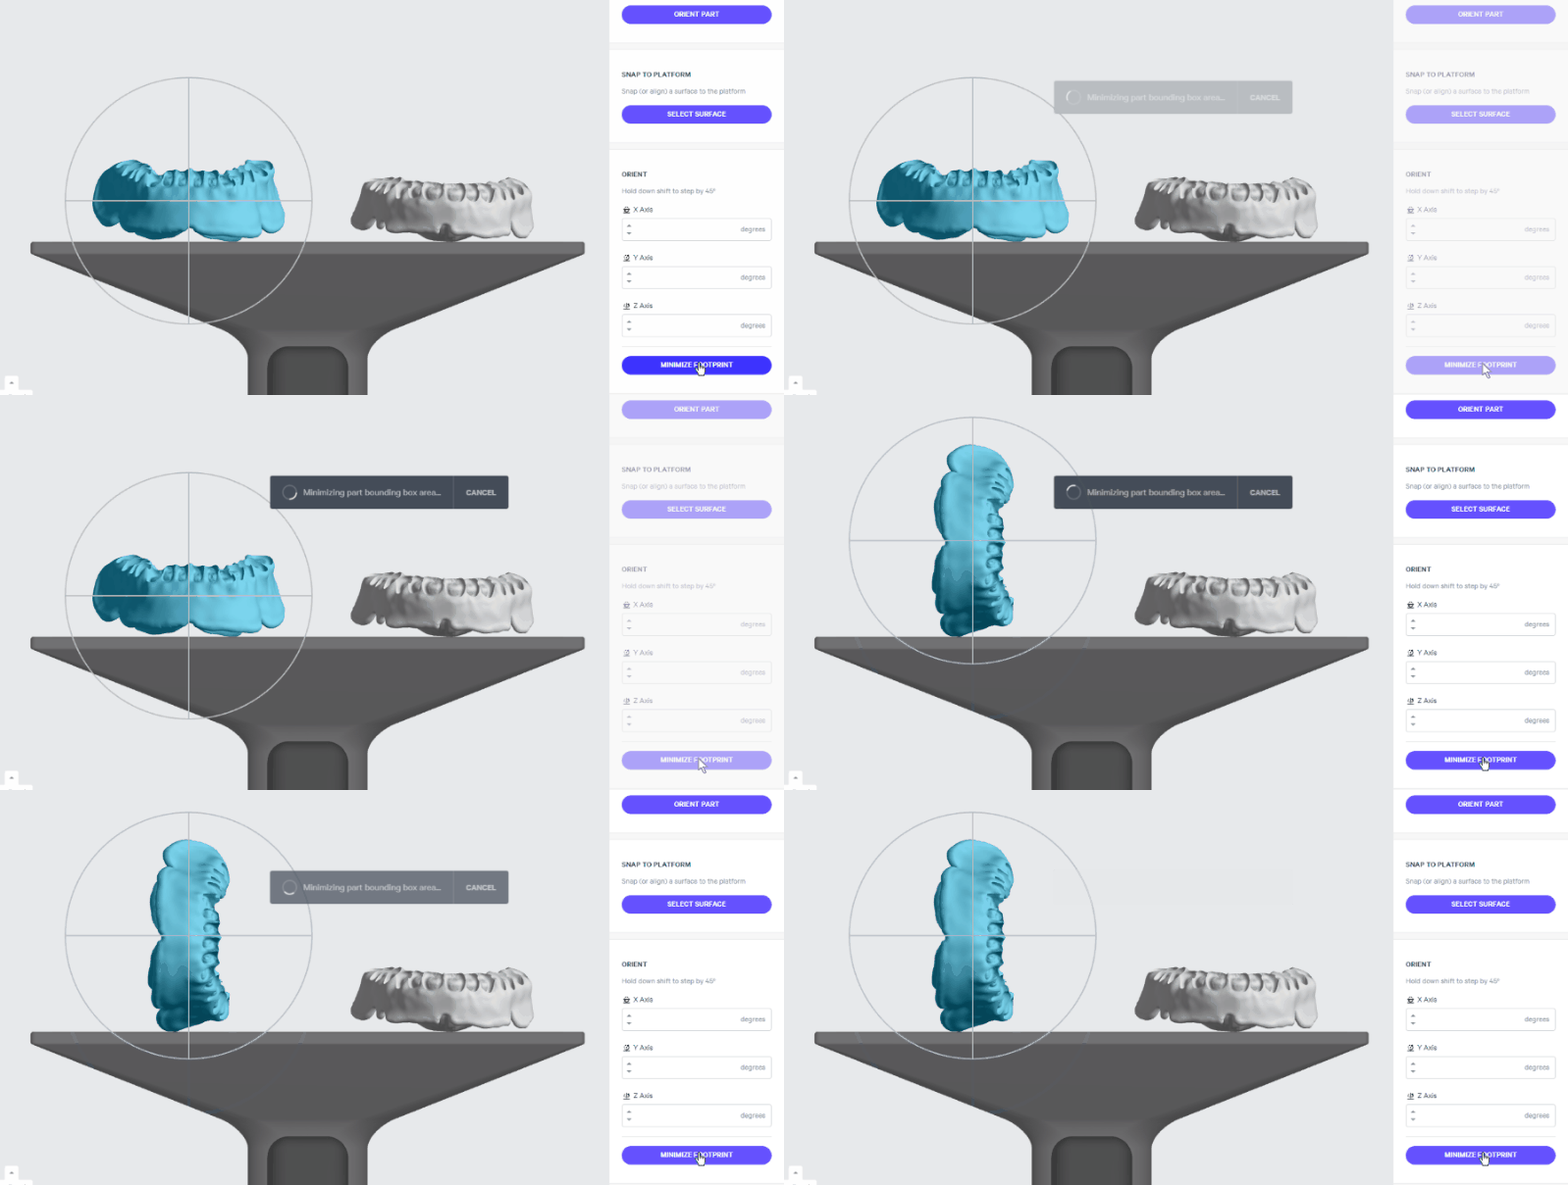
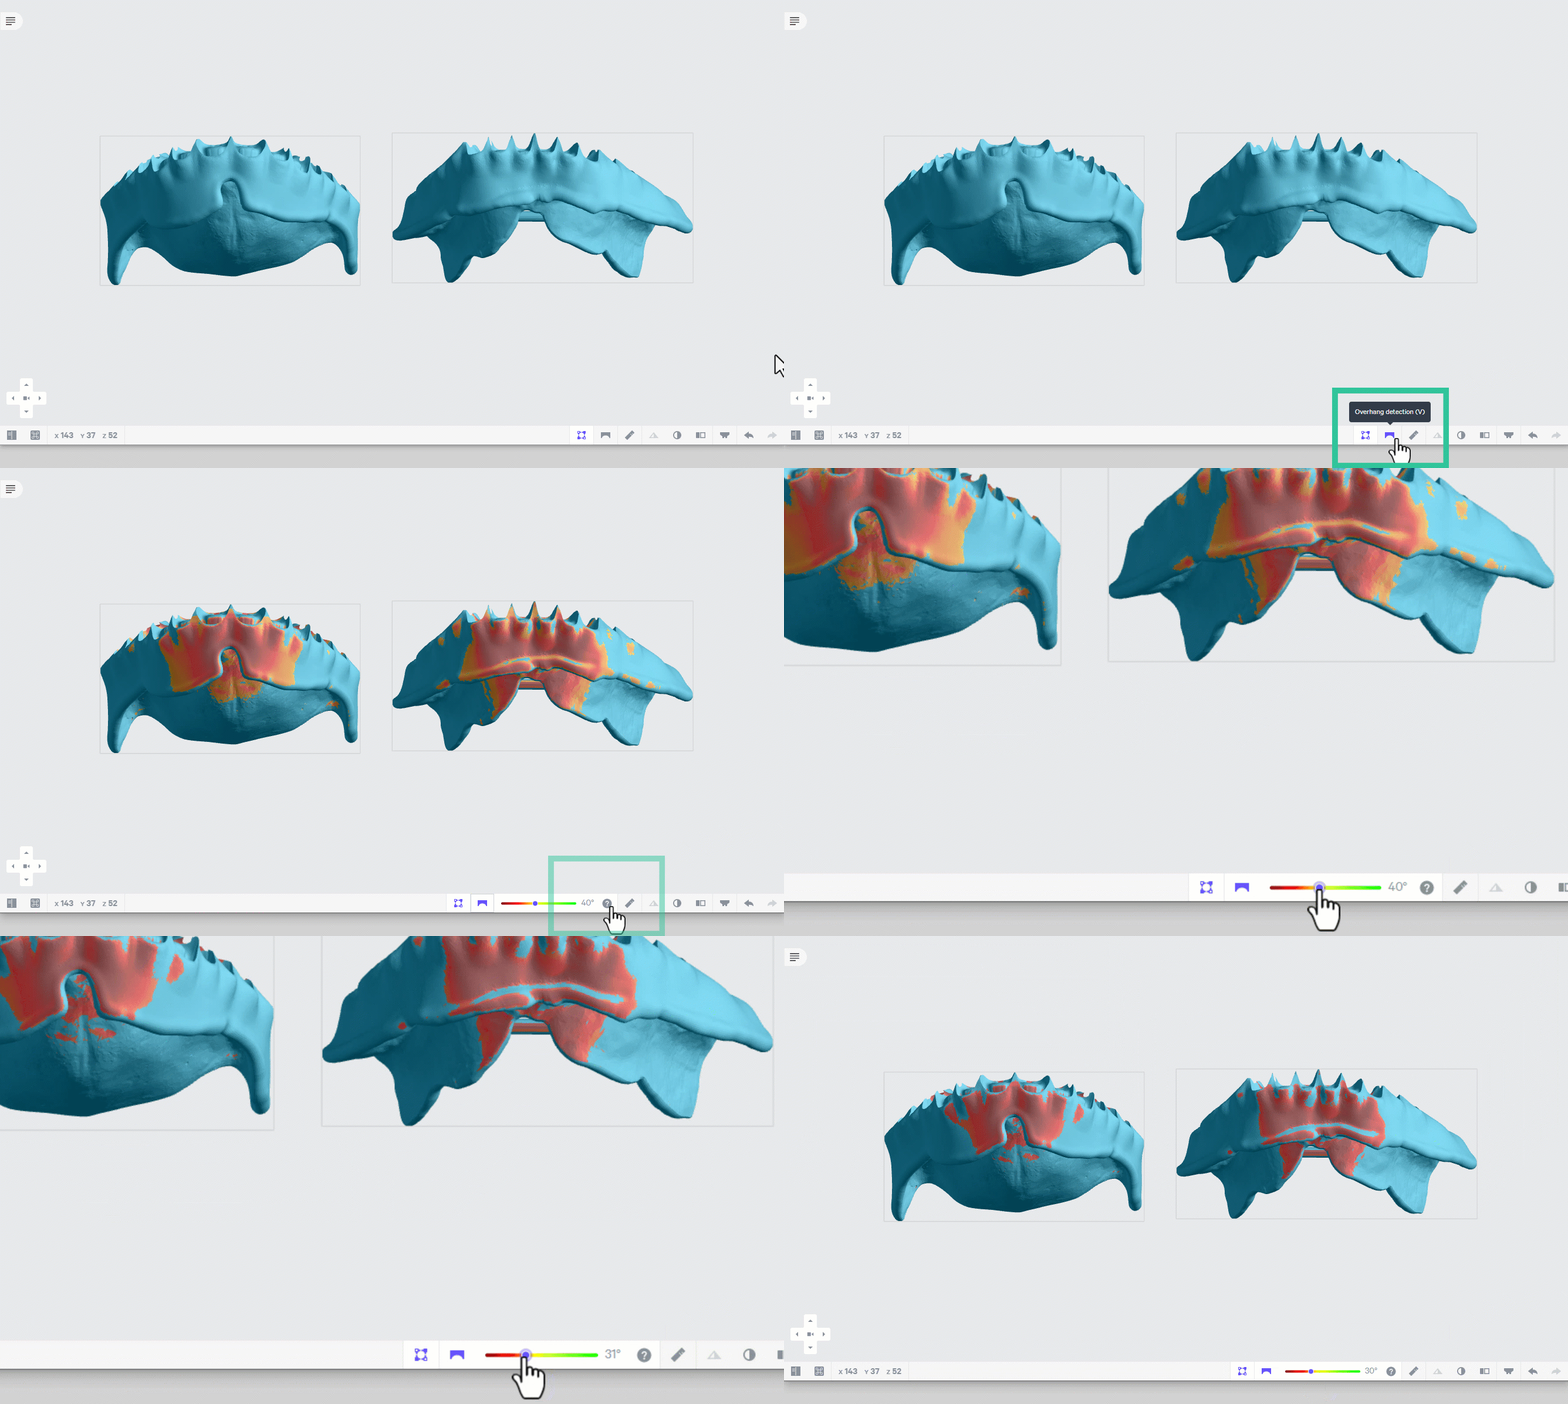
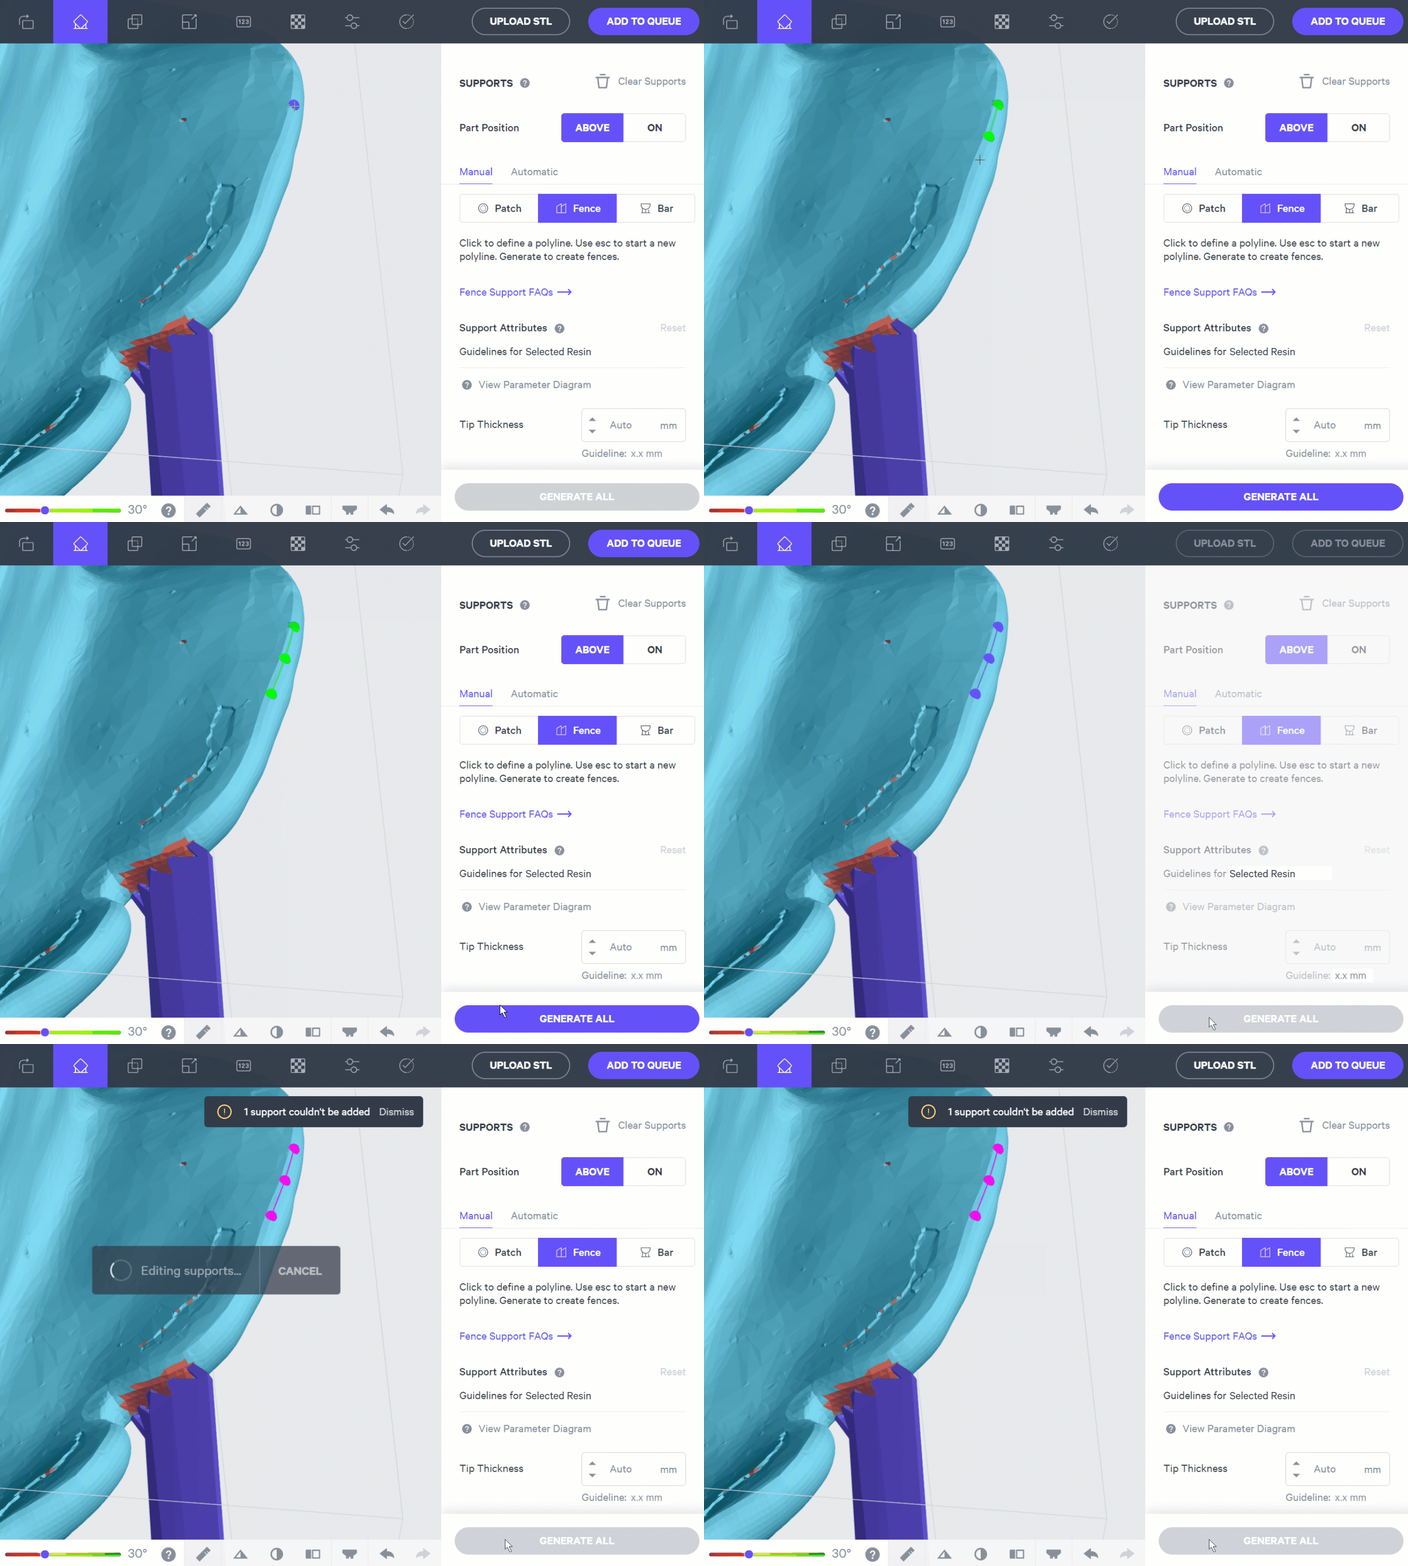
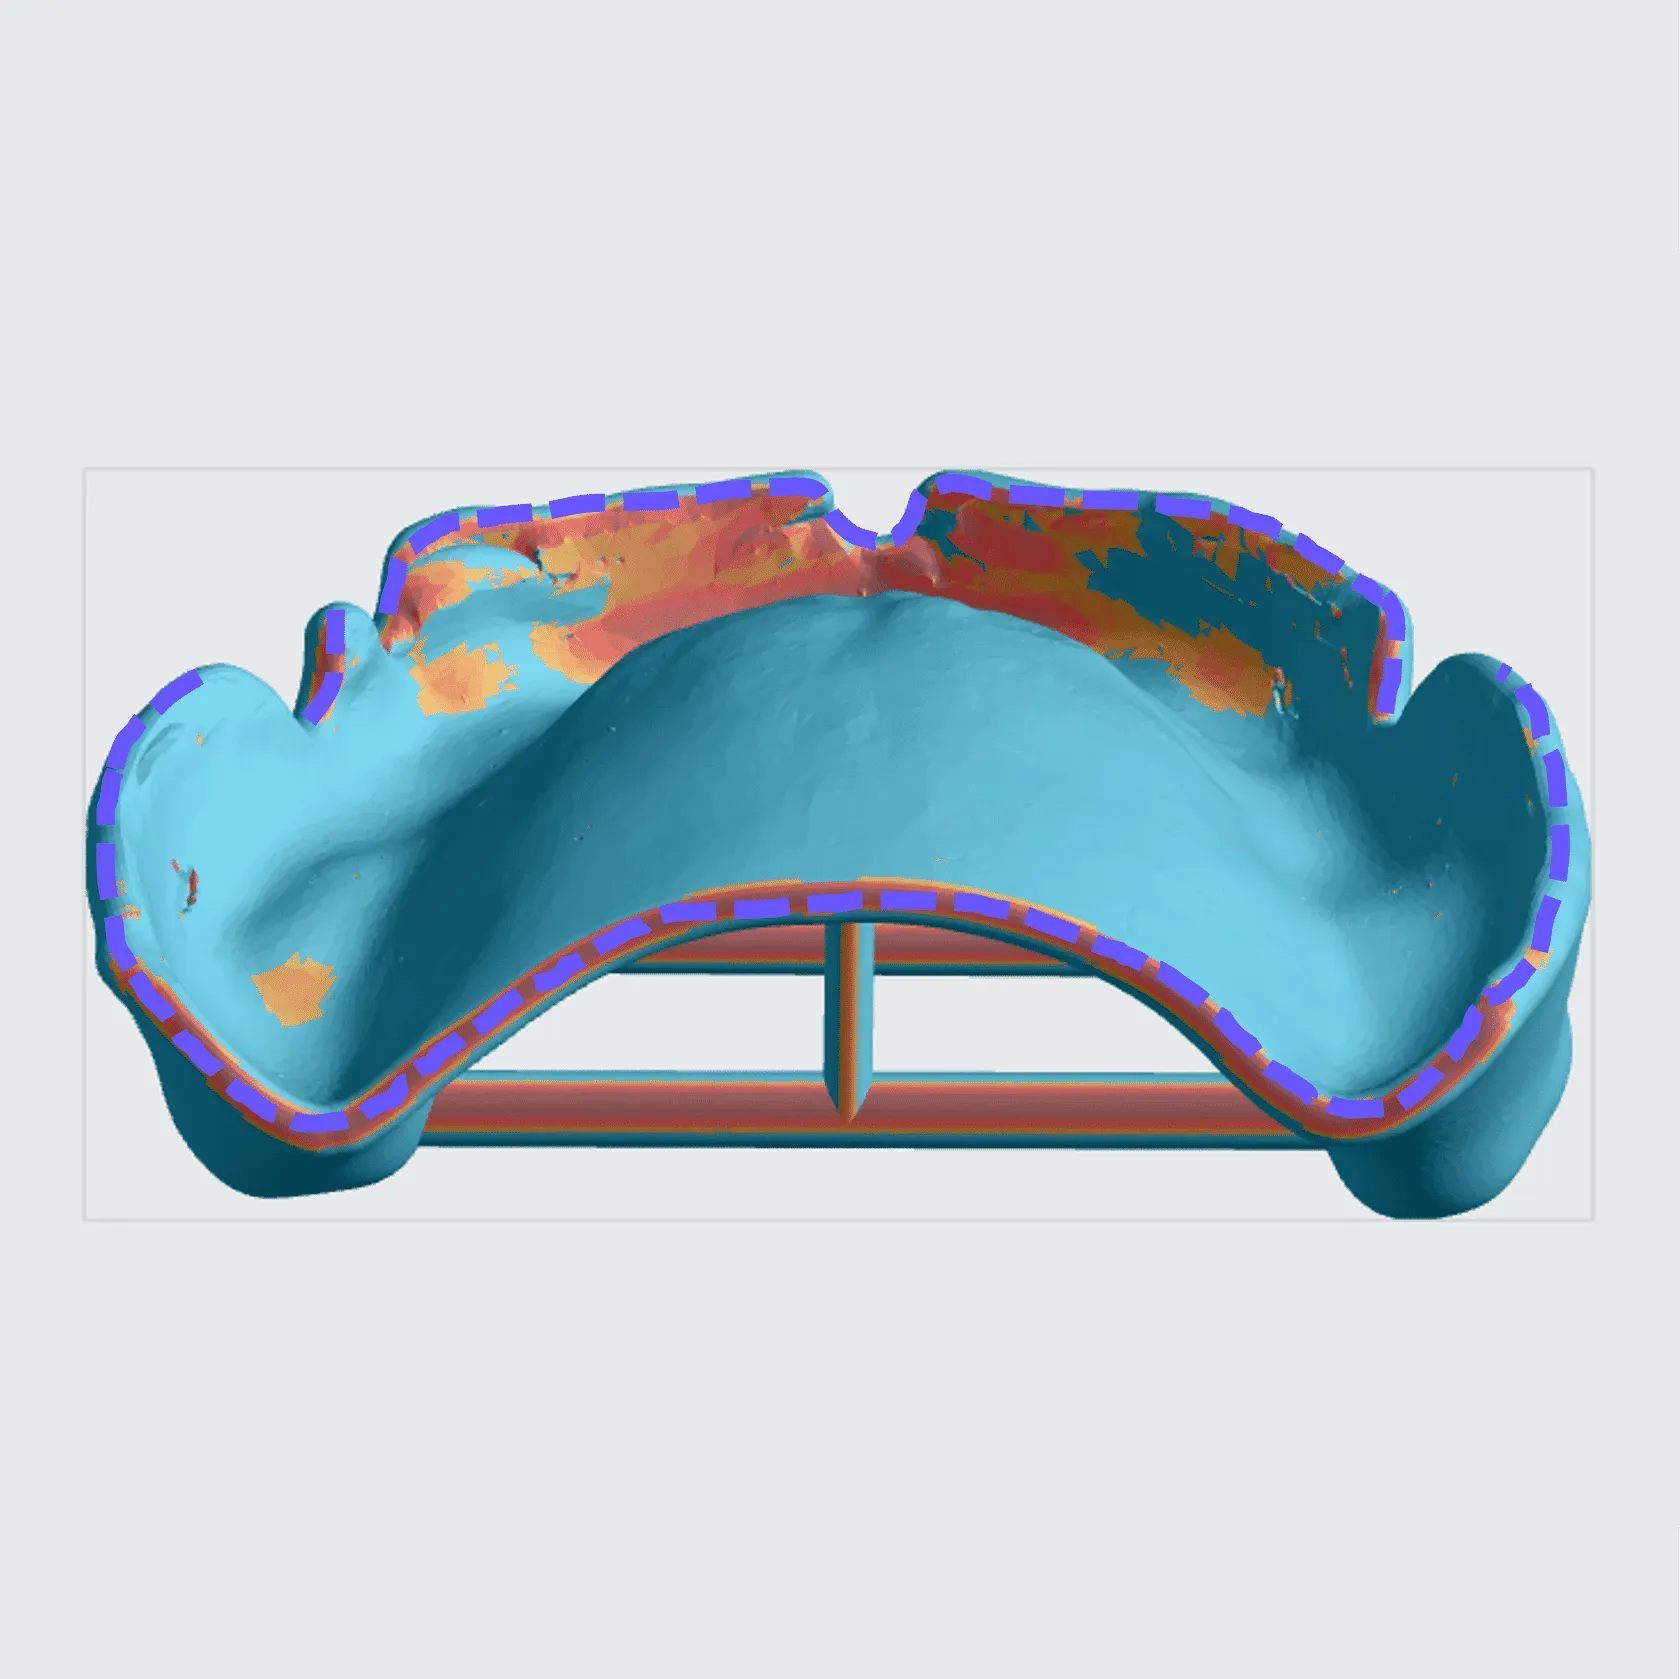
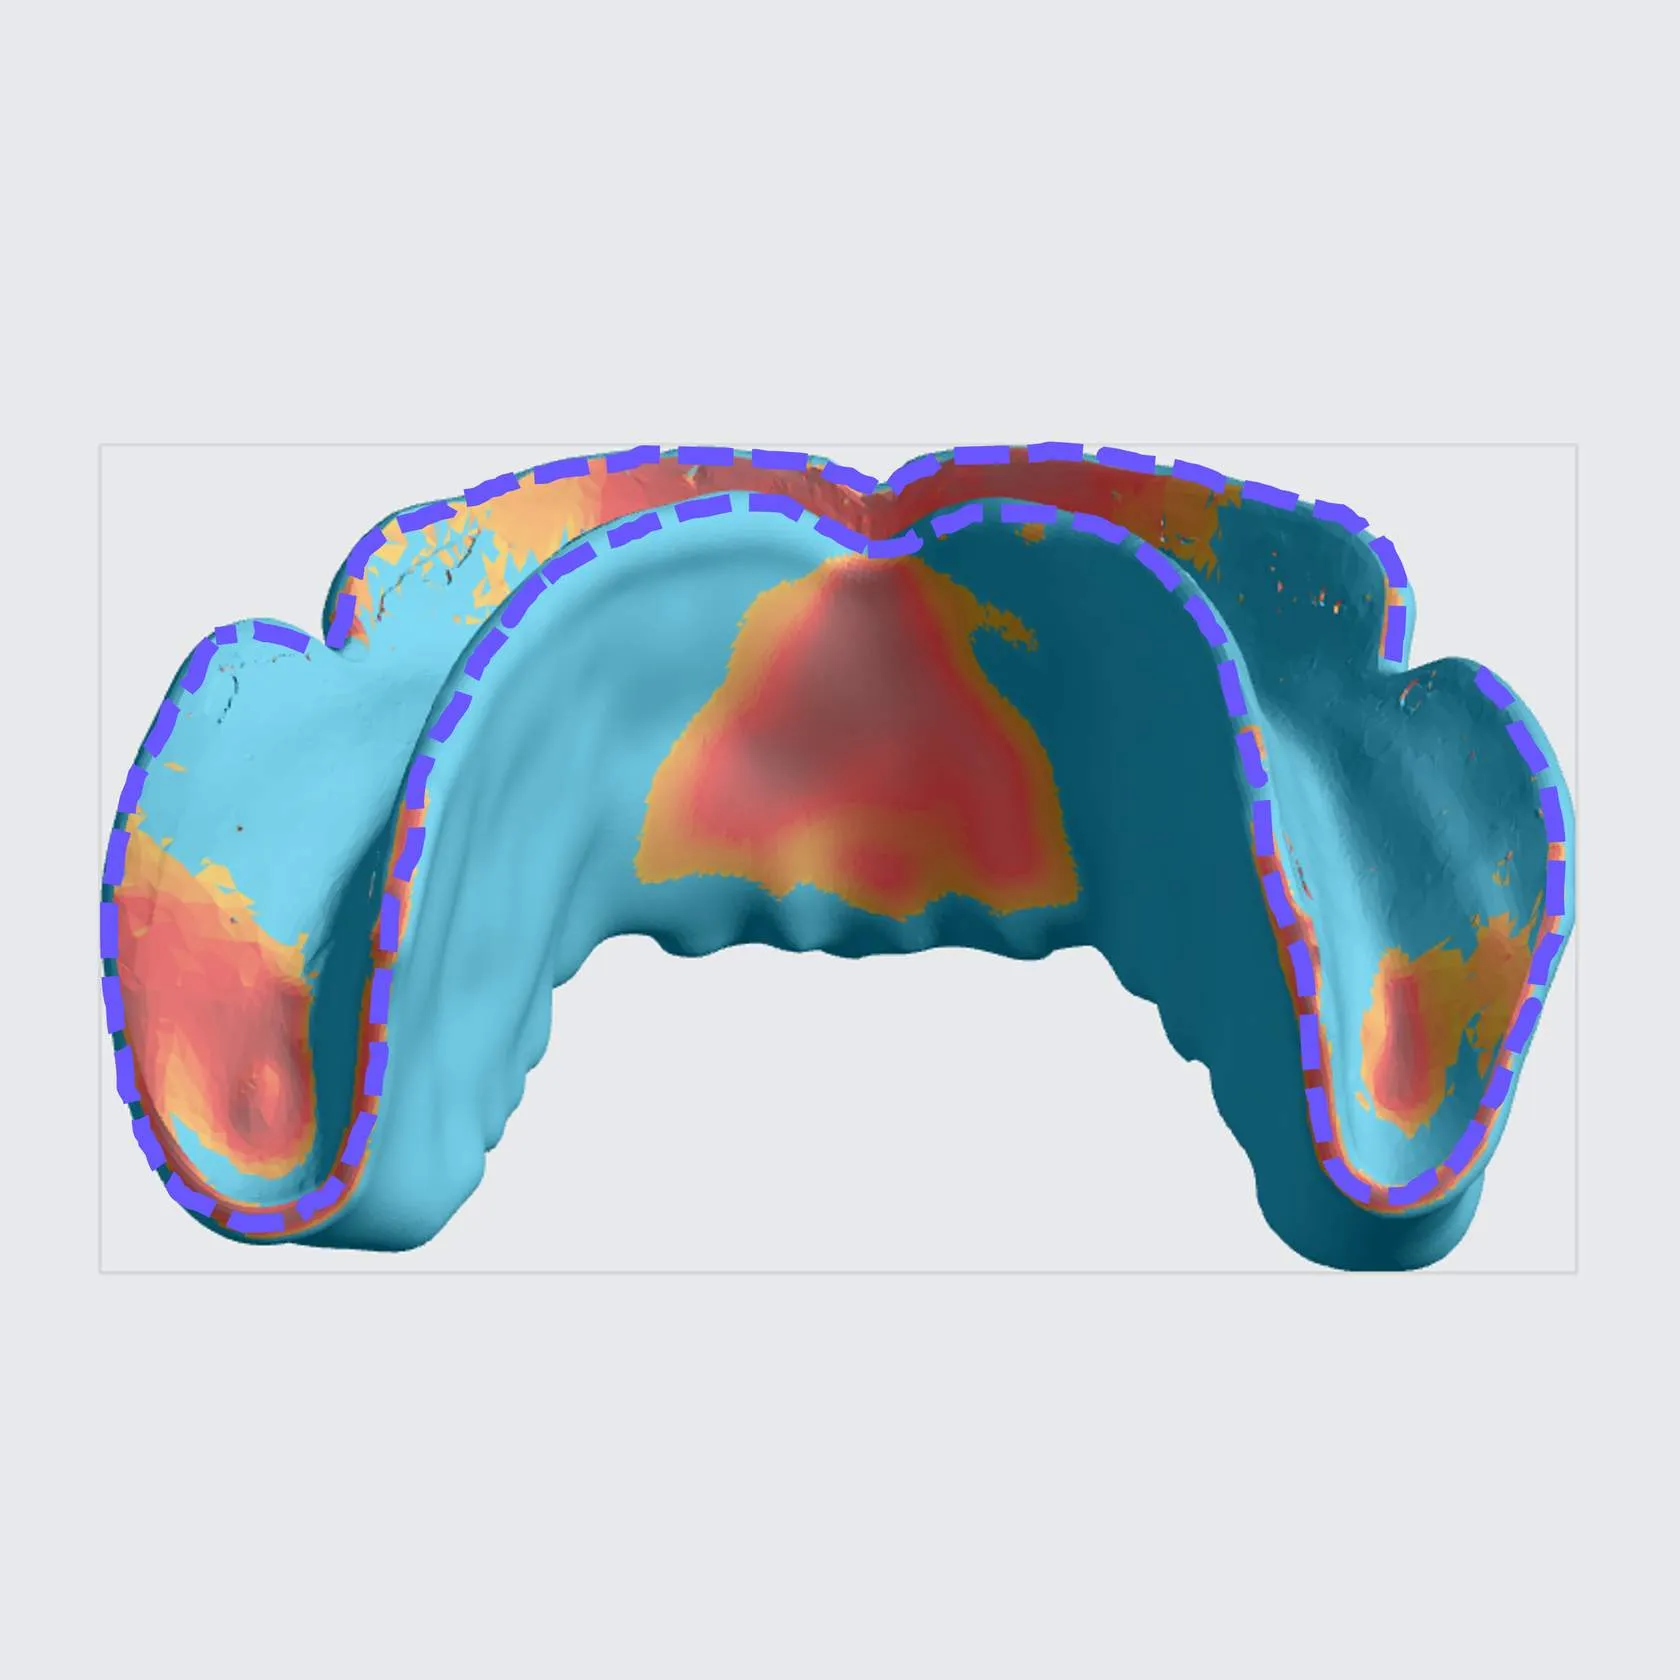
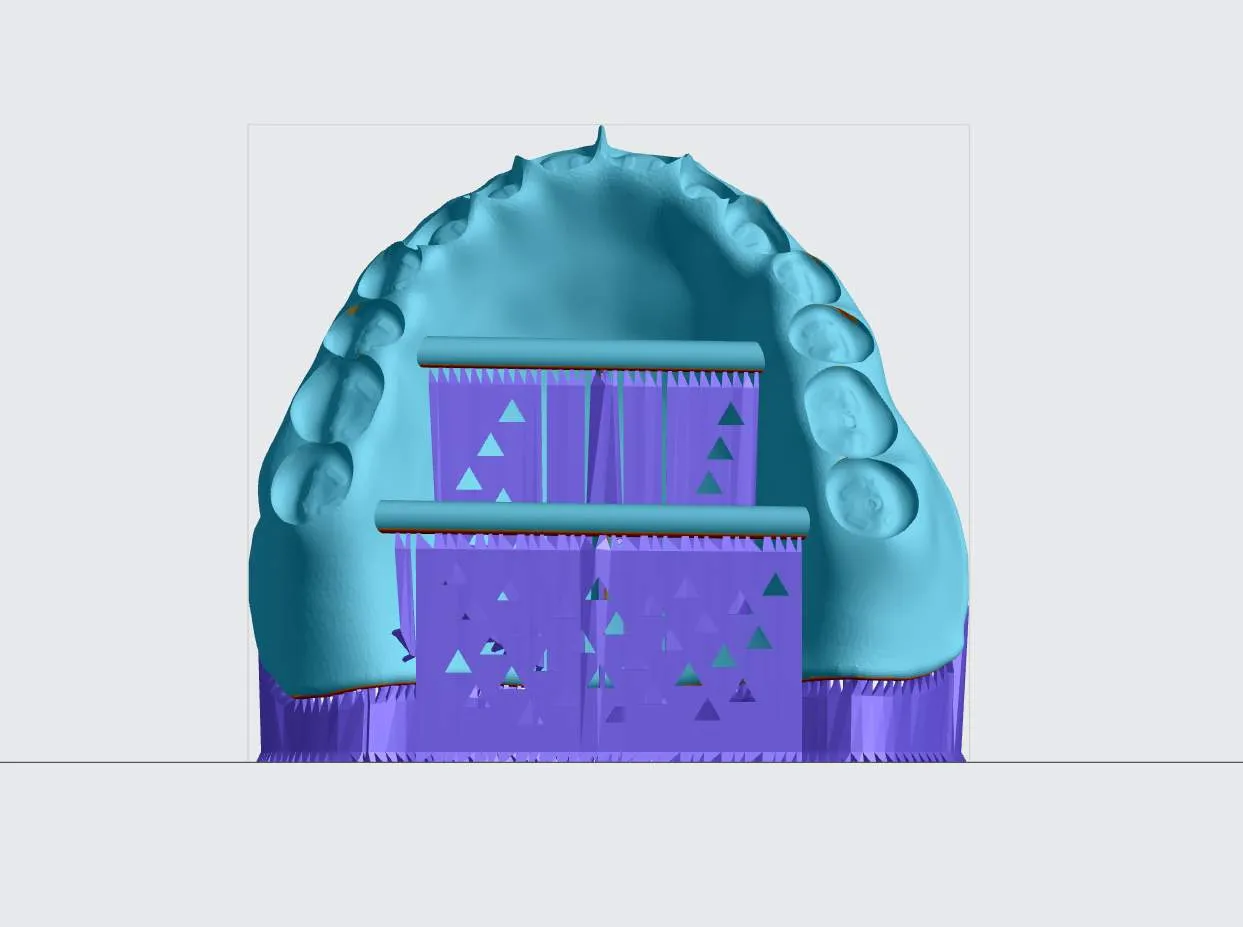
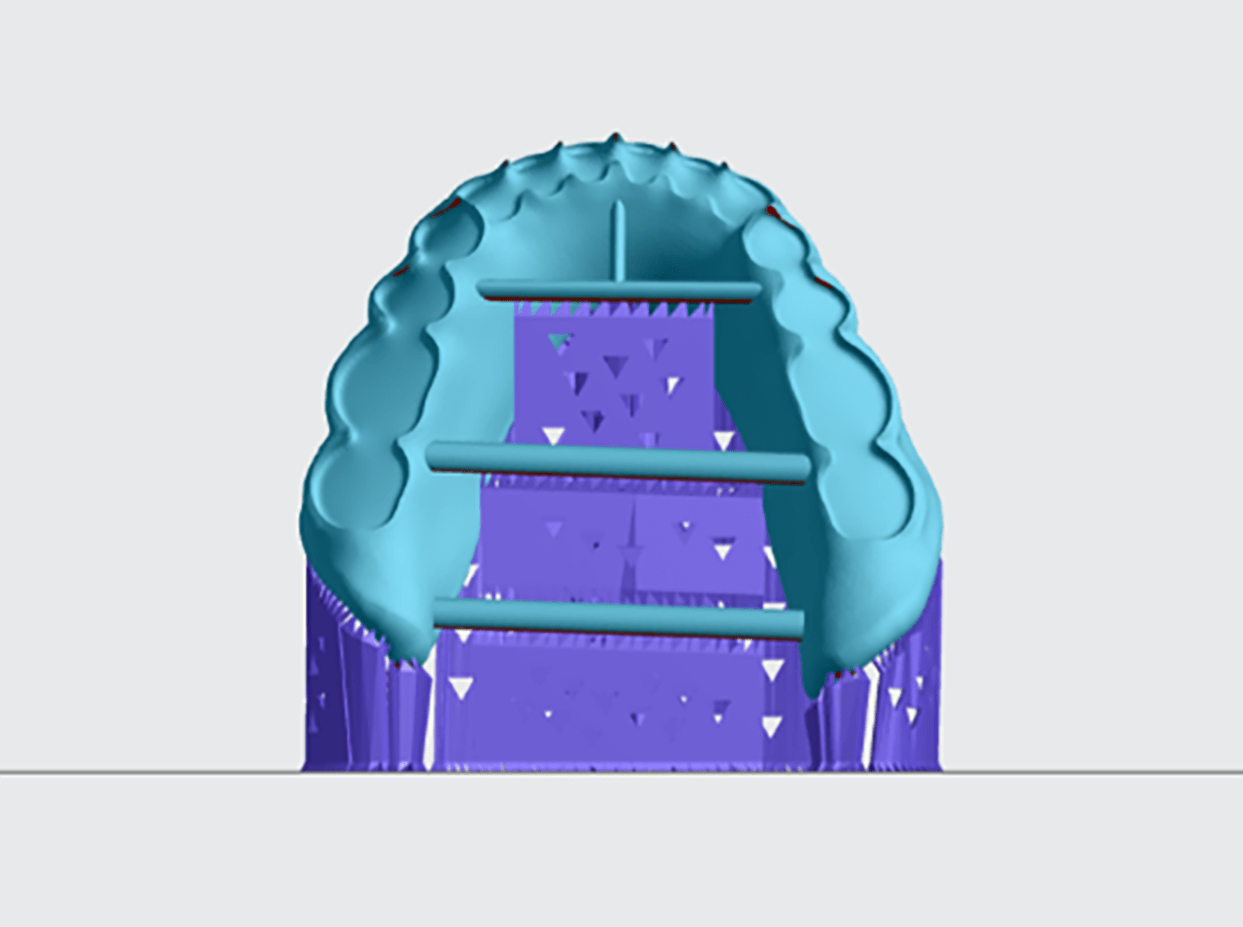
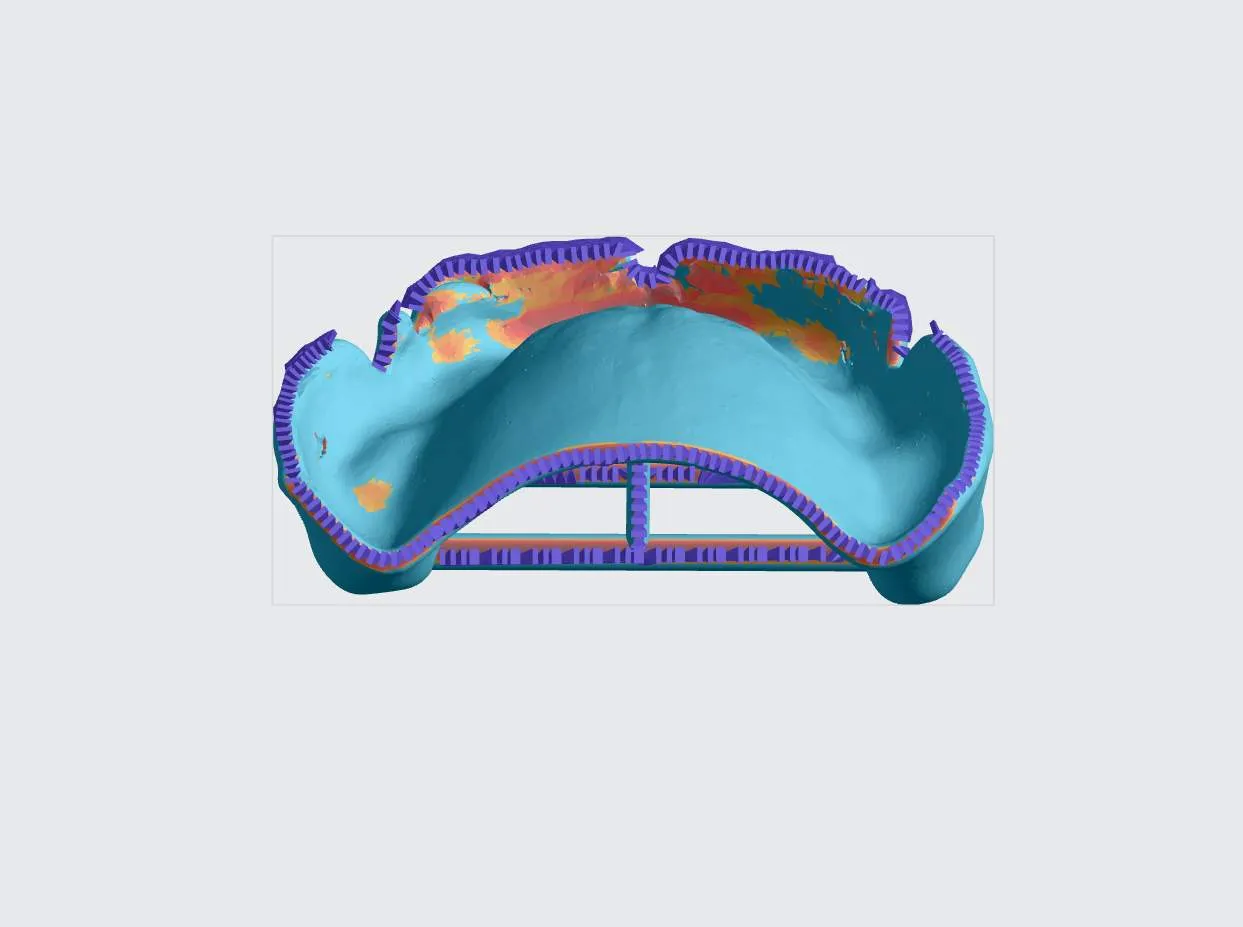
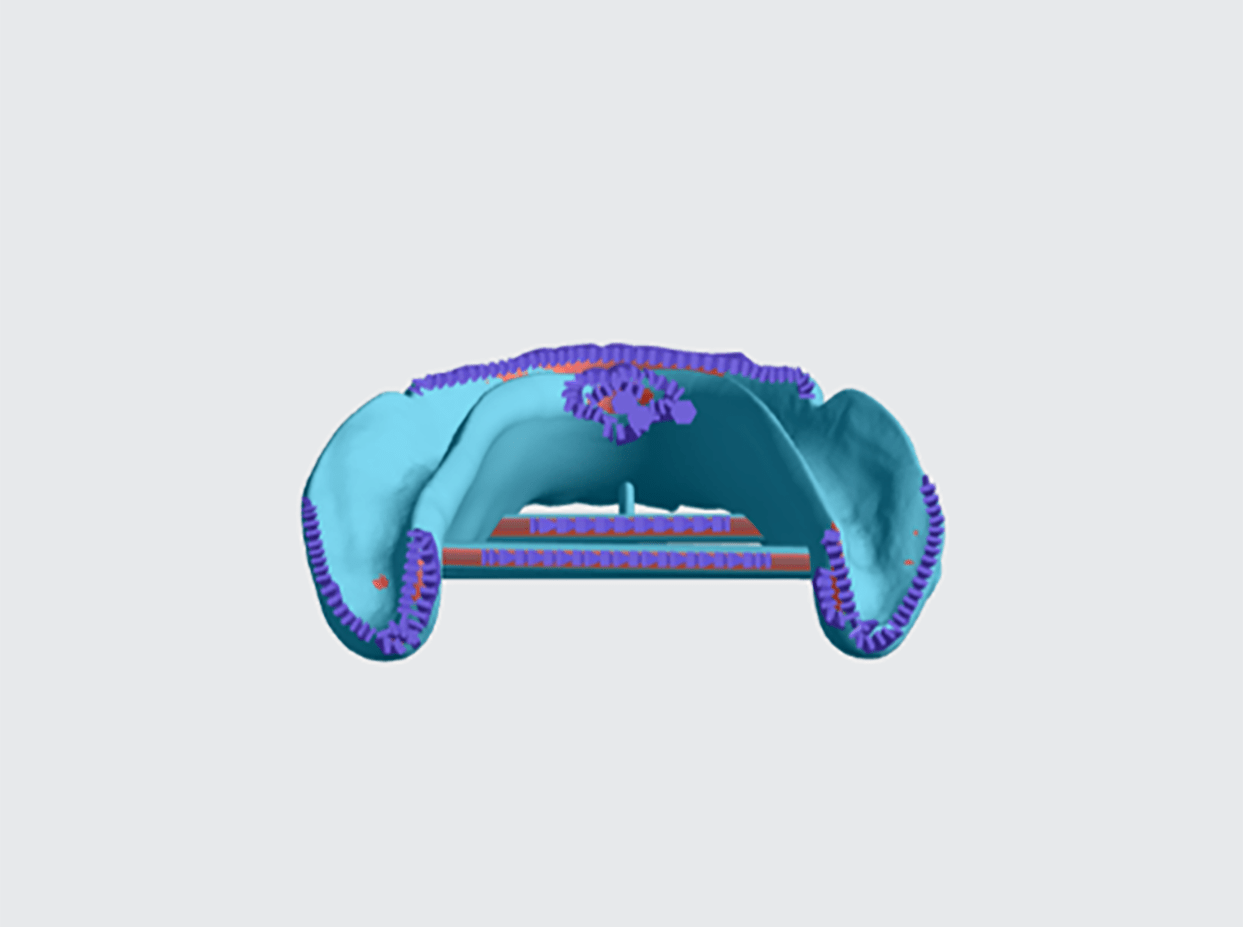
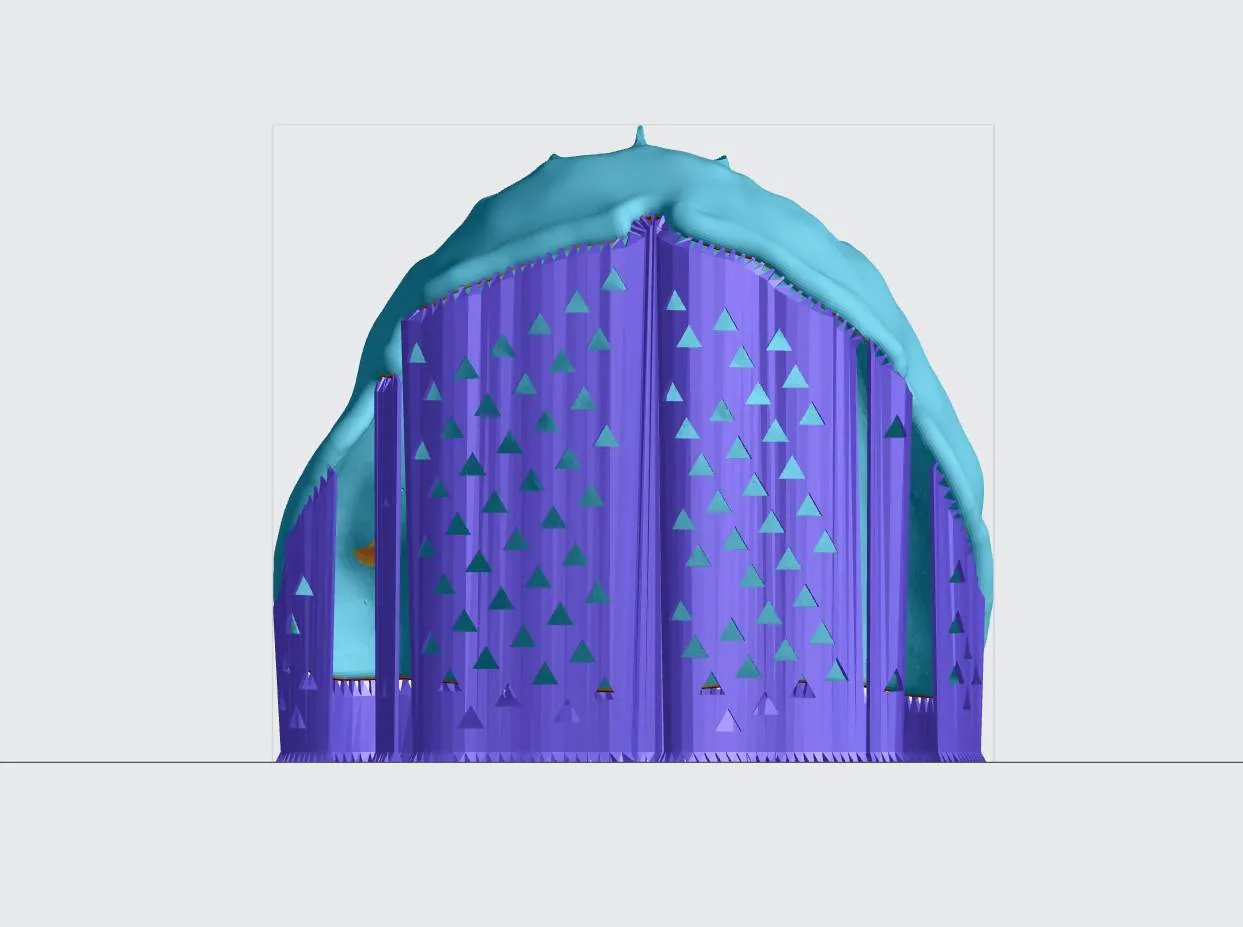
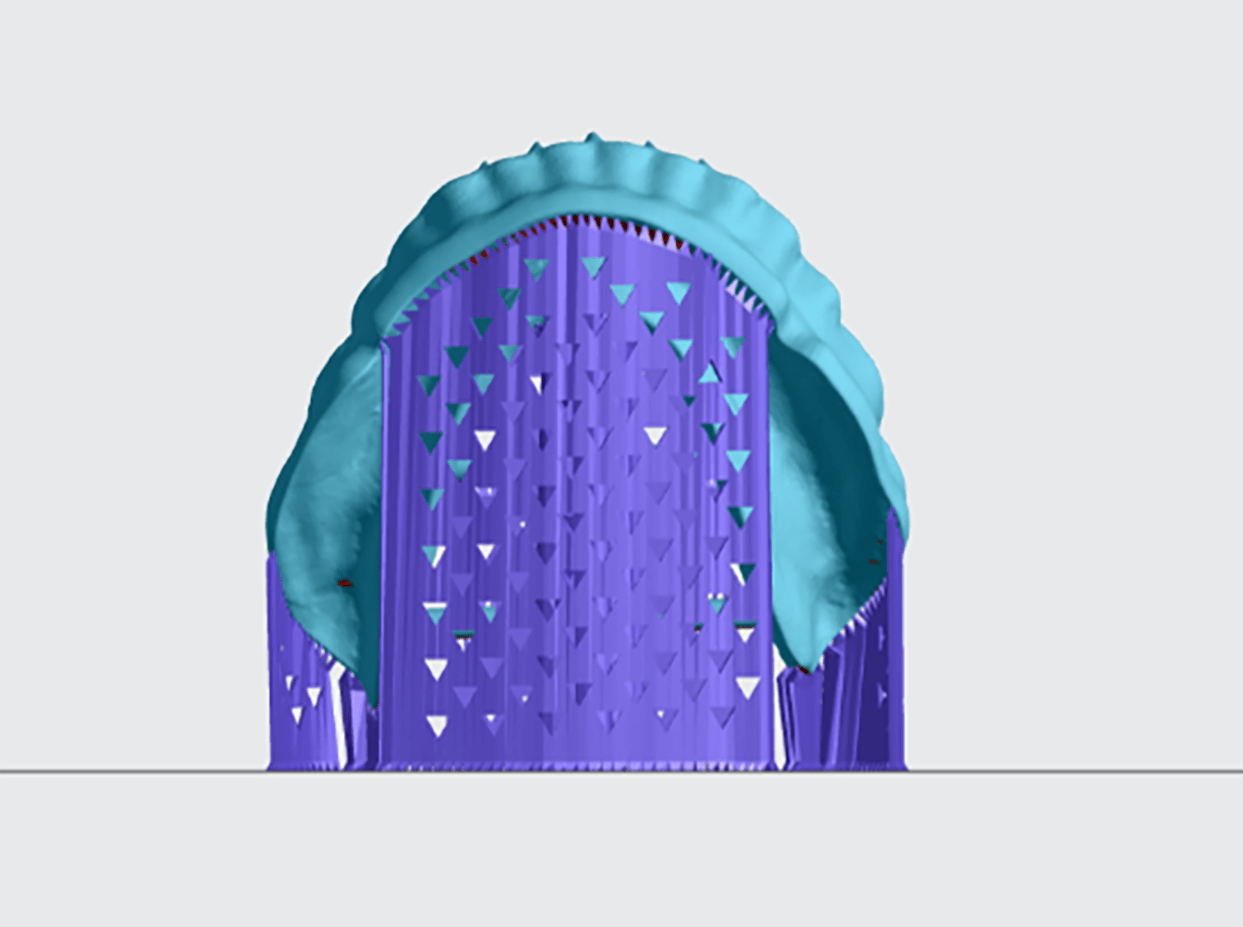
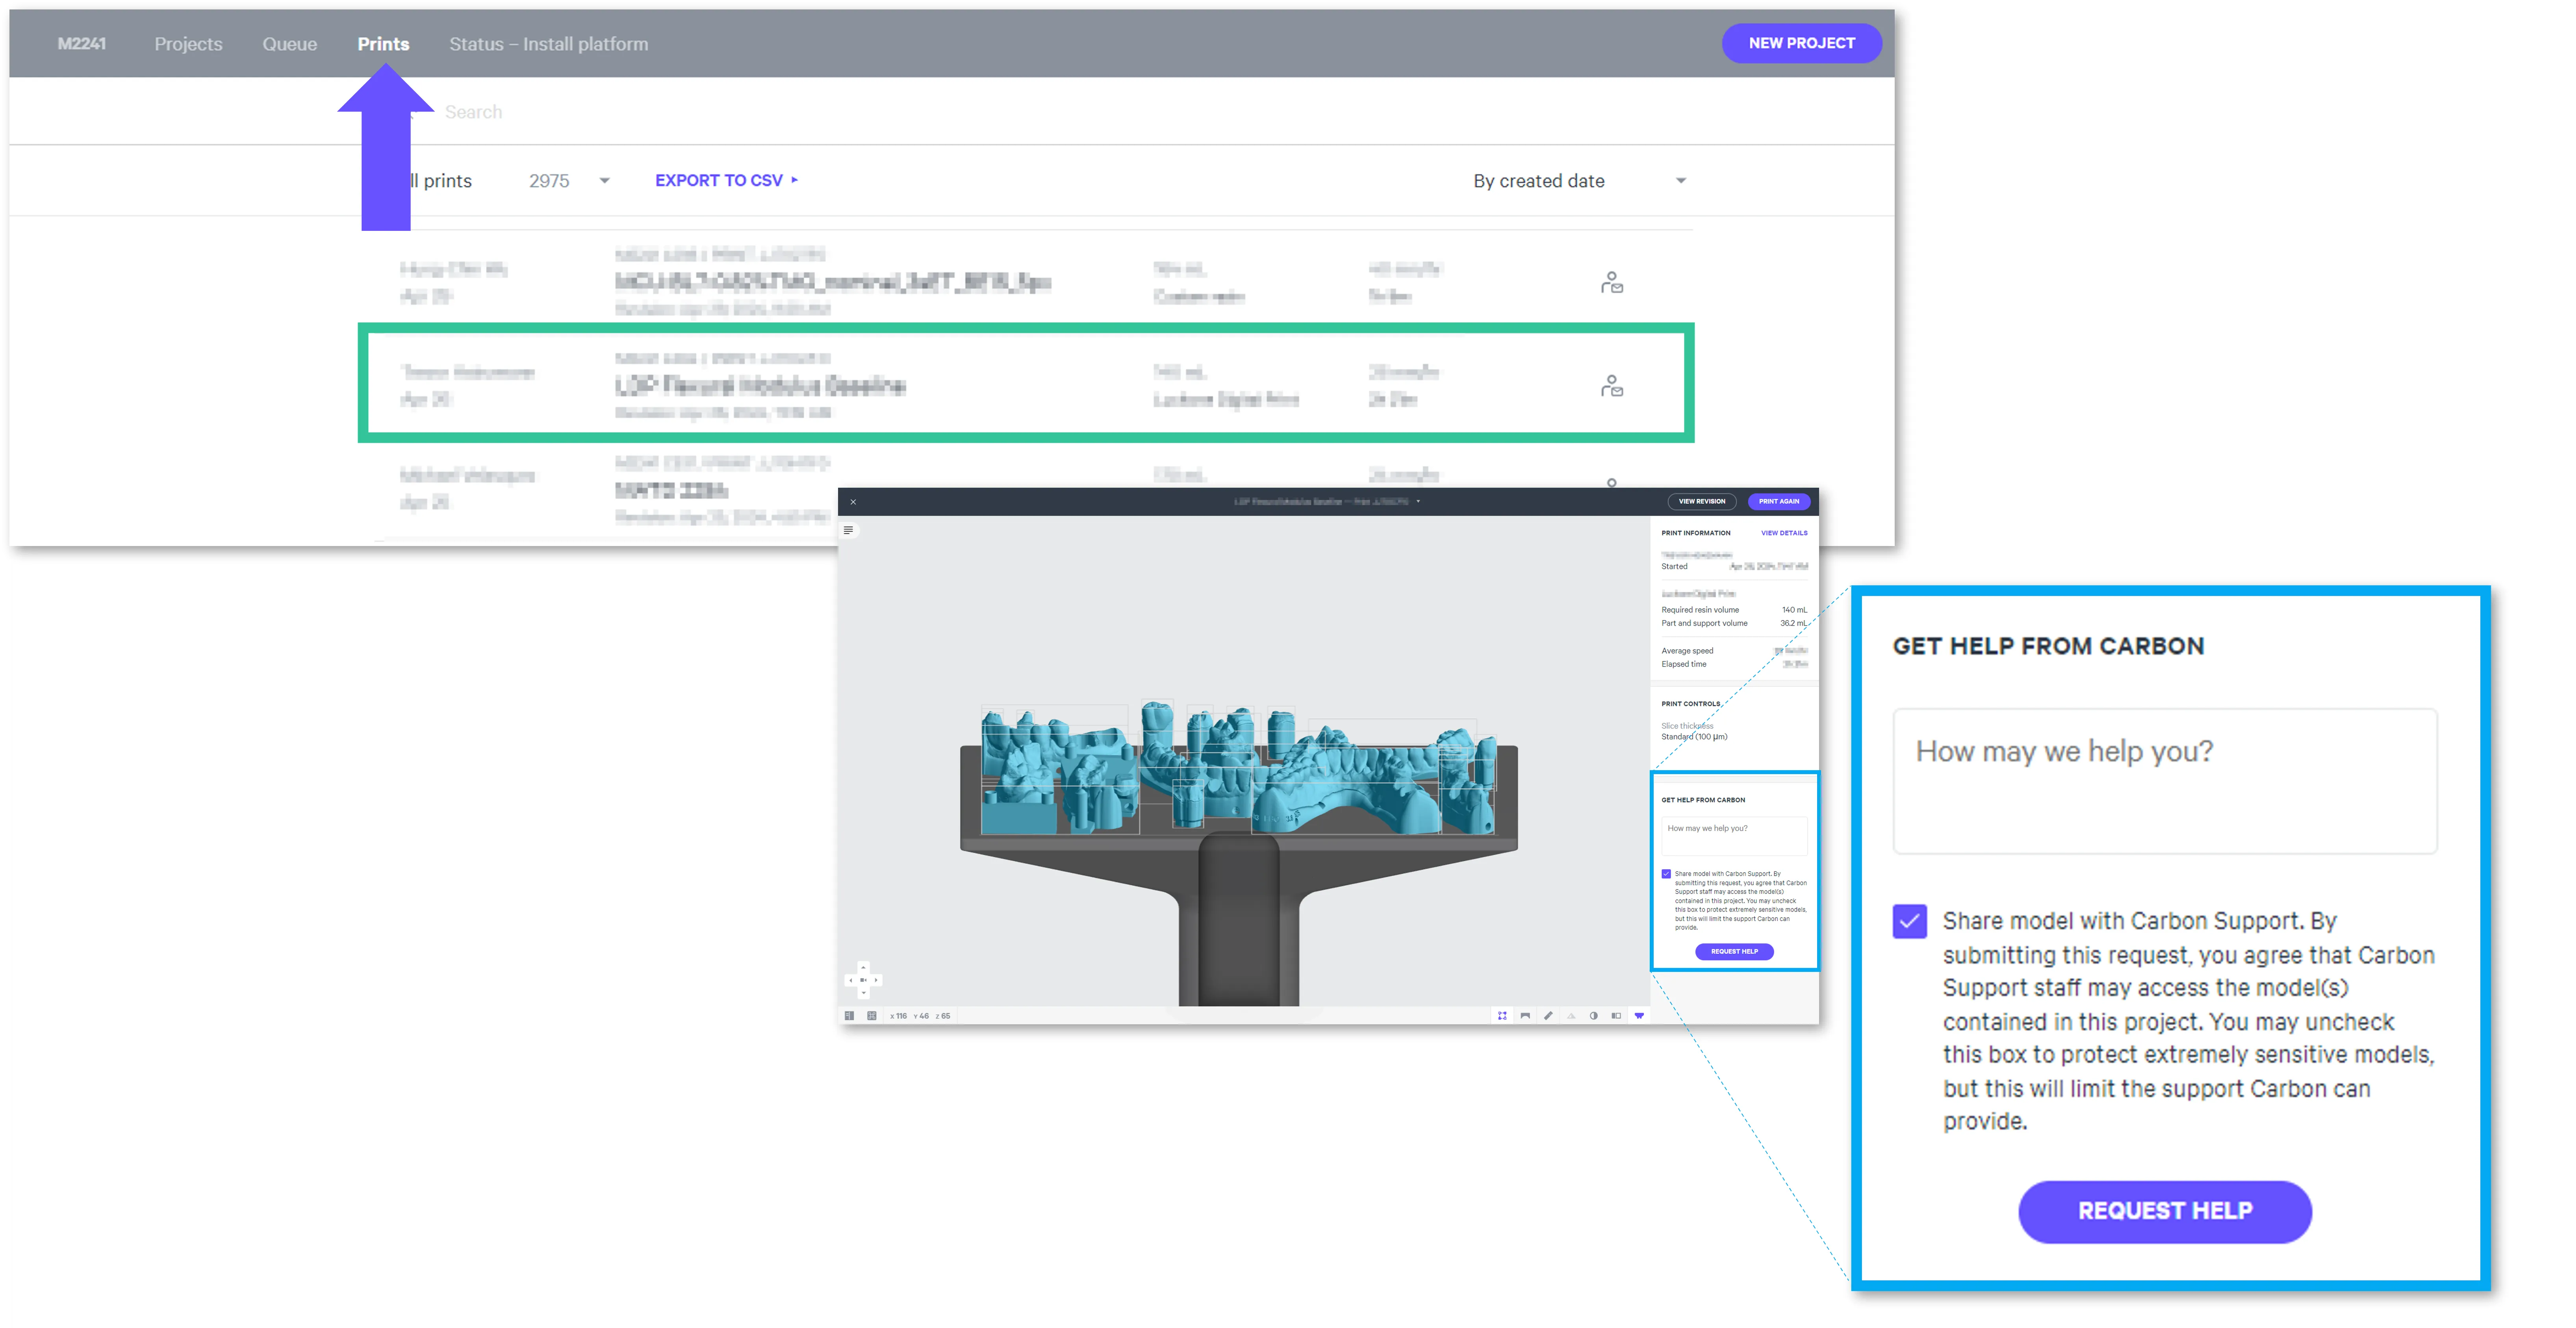
june 02, 2026 fda cleared for dental devices for fully edentulous patients carbon’s db 4000 is an fda cleared & iso 20795 1 compliant, high impact denture base resin designed for durable, accurate digital dentures db 4000 delivers industry leading fracture toughness and consistent print accuracy with a simple single cure workflow and seamless integration into the carbon ecosystem labs can produce reliable, aesthetic denture bases efficiently available shadeslight pink | original pink | dark reddish pink | dark meharry open tooth system architecture compatible with multiple tooth 3 d printed materials and milled pmma this resin is not compatible with the ao polishing cassette docid\ iffh3q8 wlk liqr87bd5 resource links about the material about the material https //go carbon3d com/material db4000 labs promotional content symbol glossary tds, ifu, sds technical data sheet https //docs carbon3d com/files/technical data sheets/tds carbon db4000 pdf (tds) instructions for use https //res cloudinary com/carbon3d/image/upload/v1784048619/carbon db4000 ifu print pdf (ifu) safety data sheet https //www carbon3d com/stewardship (sds) search and login required protocol material protocol sheet this downloadable handout provides important usage information, including instructions about storage, washing and curing print it out and bring it into the lab! print preparation there are two options to properly prepare your denture bases for printing manually automatically using automate automatic print preparation (app) docid\ rdxnuaghpa5gqfbl5qysb this guide provides instruction for manual preparation reference denture bases automation guidelines docid\ ncgcxxqeyt610ogavbkle if using app login required reference all printer ui docid\ oid4znztzyelttpvj984a content for functionality and instructions not explicitly covered on this page connect to printer connect to the printer software using your web browser expand for steps open browser enter https //print carbon3d com https //print carbon3d com/ in the url field enter url in browser latest version of chrome recommended if you are not automatically logged in, enter your email and password and \<font color="#30c49a"> click log in \</font> if you have multiple printers, \<font color="#05a9f4"> select the printer \</font> that you wish to use to create the project you may queue the build to other printers select printer create project after you have chosen the printer, you must create a new project expand for steps create a project click new project you can also drag your files from a file browser window and drop it on top of the new project icon enter a new project name in the resin dropdown, select your resin only use encrypt project docid 1bt3mas8msvxq9cdza67c if you want to require a password to access the project carbon cannot provide support for encrypted projects drag and drop your part files into the dotted box or click browse your files and select them in a file browser window click create after a few moments you will see the project printer interface with your parts on the platform orientation and supports orientation and supports for db 4000 utilizes the posterior at platform orientation strategy orientation also used automatically by app orient lower and upper dentures bases goal 60° 80° tilt intaglio surface faces platform posterior touches platform lower and upper denture bases orientation angle click on orient shift + o in the top bar in the printer interface orient tab in top bar click minimize footprint button this will orient the base roughly perpendicular to the platform minimize footprint manually lay the denture flat the intaglio surface (tissue side) should face the platform click on the denture to select it hover over the axis loop seen while looking at the front of the denture the \<font color="#32c49a"> green \</font> y axis in this example click and hold on the axis loop and rotate until the denture is roughly parallel to the platform manually lay the denture flat 💡change views and adjust as needed until the denture is positioned adjusting the \<font color="#d32f4a"> red \</font> x axis in this example from the side view hold shift while rotating to move in 45 degree increments tilt into position click on the denture to select it hover over the axis loop seen while looking at the side of the denture the \<font color="#d32f4a"> \</font> x axis in this example click and hold on the axis loop and rotate to the specified angle so the posterior of the denture is touching the platform 70 ° rotation in this example supports no supports on intaglio surfaces set up ui for supports toggle platform off toggle platform off click toggle platform in the bottom bar b shortcut overhang detection 30° overhang detection 30° click overhang detection in the bottom bar v shortcut set angle to 30° enter manual fence support mode click on supports shift + s in the top bar in the printer interface support tab in top bar under part position , select above to create room between the platform and the part click the manual tab and select fence leave the support attributes at the default values manual fence supports place fence supports for the following denture base conditions where illustrated in the examples below denture base edges t bars manual fence workflow click a series of points along the edge of red areas to define the fence click esc key on keyboard to end a fence and begin another hold down the e key and click with the mouse to reposition points click generate all to create the fence geometry this may take a few minutes error support couldn't be added sometimes an error will occur when you try to generate a new fence if this happens, the points will turn \<font color="#ff3399"> pink \</font> and an error message will appear error fence points 💡try making multiple shorter fences or try adding the fence in a slightly different place support denture edges click along red areas on edges , indicated by the overhang detection tool adding fence supports on denture edgeupper denture baselower denture base support t bars click along red areas on edges , indicated by the overhang detection tool adding fence supports on t bars support cameo surface the last area requiring supports will use the patch support tool to fill the area with fence supports the lingual cameo surface is typically a large overhang that requires dense supports this is required for lower dentures patch supports workflow while in the supports menu, click the manual tab and select patch click in the large overhang on the cameo surface a green patch will appear under support attributes click primary support type and select bar in the spacing box, type 3 5 mm scroll down to the bottom of the supports menu and turn boundary fence on adjust the overhang slider until the red highlighted overhang areas are covered by the green patch typically this will be between 35° 45° click generate all examples of well supported dentures use the images below as a reference for well supported upper and lower dentures using the posterior at platform orientation upper denture front lower denture frontbottombottombackback layout click on layout shift + l in the top bar in the printer interface layout tab under auto layout , select gen2 enter at least 1 mm in padding leave optimize starting rotation unchecked leave allowed rotations at the default setting press the auto layout button to arrange your parts if necessary, part layout can be changed manually click and drag parts to adjust their position modify z rotation by using the spin tool use the part list tab as needed to more easily select models and focus on them print controls click on print controls shift + p in the top bar in the printer interface print controls tab set slice thickness to standard (100 µm) reducing the slice thickness will increase print time and may reduce part quality and accuracy project analysis click on project analysis shift + a in the top bar in the printer interface project analysis tab click start analysis and wait for the processing to complete note the following print stats docid\ gfr goc irq l9 kanc x required resin volume you will use this number to dispense the correct amount of resin print time estimated increase in soil load review warnings for unvented volumes docid\ gfr goc irq l9 kanc x slices docid\ gfr goc irq l9 kanc x islands docid\ gfr goc irq l9 kanc x click add to queue post processing follow instructions in the linked documents per step washing curing assembly finishing ifu docid\ lz7wzgeejfvhif5uyx9ir ifu docid\ lz7wzgeejfvhif5uyx9ir ifu docid\ lz7wzgeejfvhif5uyx9ir ifu docid\ lz7wzgeejfvhif5uyx9ir protocol docid\ lz7wzgeejfvhif5uyx9ir protocol docid\ lz7wzgeejfvhif5uyx9ir handling instructions clinicians and patients should follow instructions in the linked documents patient cleaning ifu docid\ lz7wzgeejfvhif5uyx9ir questions & support carbon for questions about your carbon printer or carbon software settings used for this resin, please contact carbon https //learn carbon3d com/carbon support email support\@carbon3d com mailto\ support\@carbon3d com phone u s and canada 1 650 285 6307 option 2 germany +49 6102 5790849 uk +44 (0) 2082 647484 printer ui on the dashboard, select the \<font color="#6752ff"> prints \</font> tab \<font color="#30c49a"> select one of the printed projects \</font> click \<font color="#05a9f4"> request help \</font> in the lower right corner