Vita Vionic Dent Resin
Overview
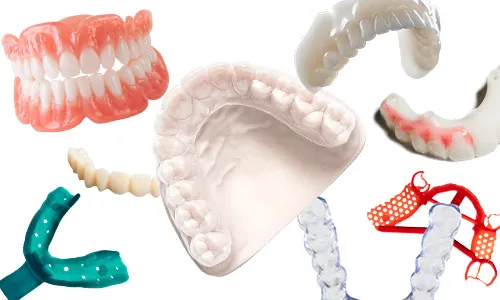
Vita Vionic Dent Resin enables economically printed dental arches and elements that have a high abrasion resistance and remarkable stability, and also meet modern, esthetic demands.
Esthetic Available in nine natural-looking, durable shades with a perfect match to the VITA shade guide, reliably meeting the high standards, thanks to the great polishing characteristics.
Durable The low wear values underscore the quality of the stable and abrasion-resistant restorations.
Versatile Suitable for permanent denture teeth, as well as temporary crown and bridge restorations, making it highly versatile for use in removable partial and full dentures.

Carbon has validated the following shades:
- 0M3, A1, A2, A3, A3.5, B1, B3, C2, D3
This resin is not currently compatible with the AO Polishing Cassette.
Resource Links
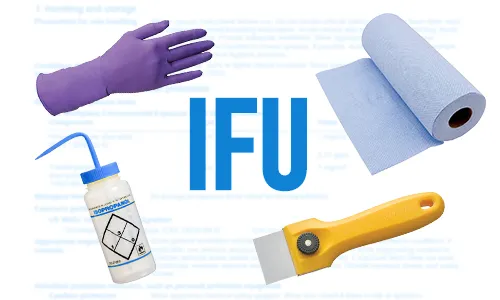
Scroll down to 'Instructions for Use' and click the appropriate region.

Scroll down to 'Safety data sheets' and click the appropriate region.
Protocol
This downloadable handout provides important usage information, including instructions about storage and post-processing. Print it out and bring it into the lab!
Design
See IFU above for manufacturer design recommendations.
Digital Preparation
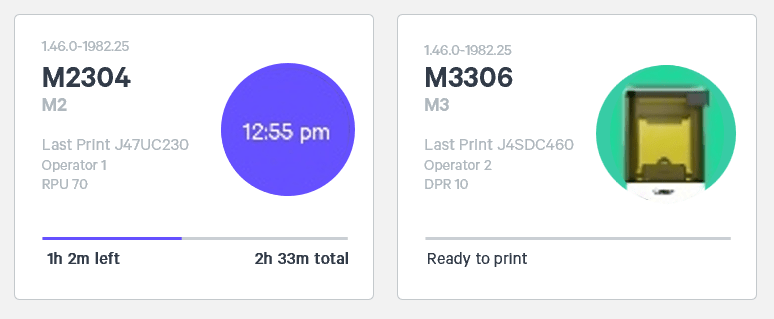
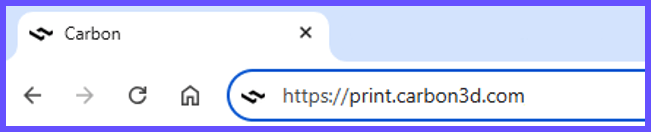
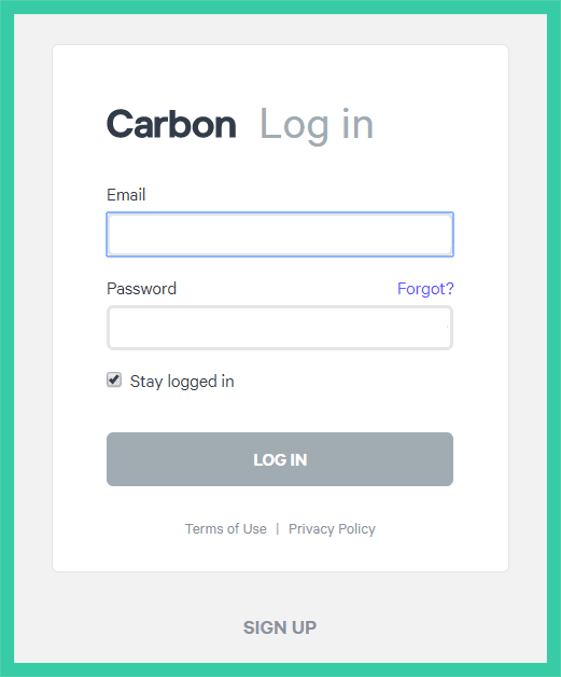
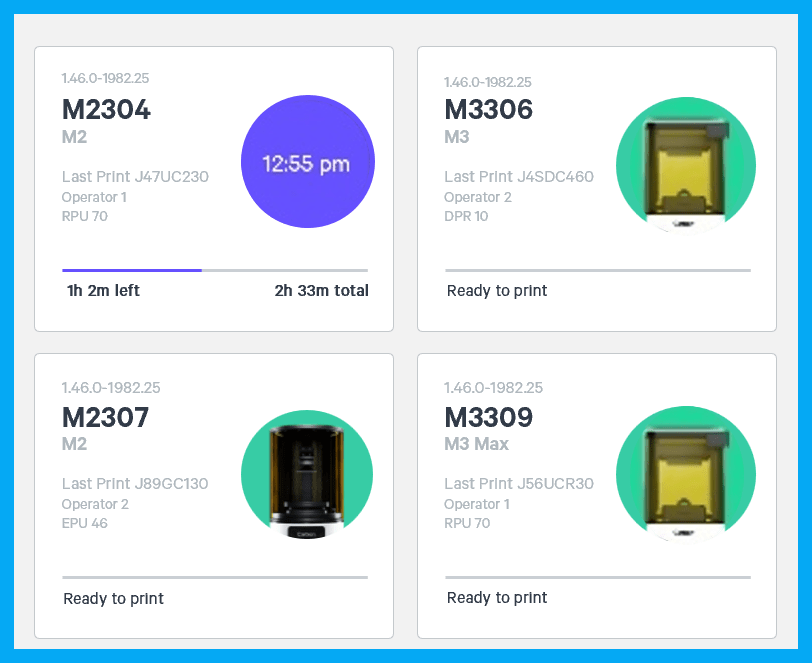
Connect to the printer software using your web browser.
Import Part

Click NEW PROJECT.
You can also drag your files from a file browser window and drop it on top of the NEW PROJECT icon.
Enter a new Project name.
In the Resin dropdown, select Vita Vionic Dent Resin.
Toggle Auto nest dentures OFF.
Only use Encrypt project if you want to require a password to access the project.
Note: Carbon cannot provide support for encrypted projects.
Drag and drop your files into the dotted box or click Browse your files and select them in a file browser window.
Click Create.
After a few moments you will see the main printer interface with your dentures on the platform.
Full Arches
Orientation
For detailed information about orienting parts, read Orient.
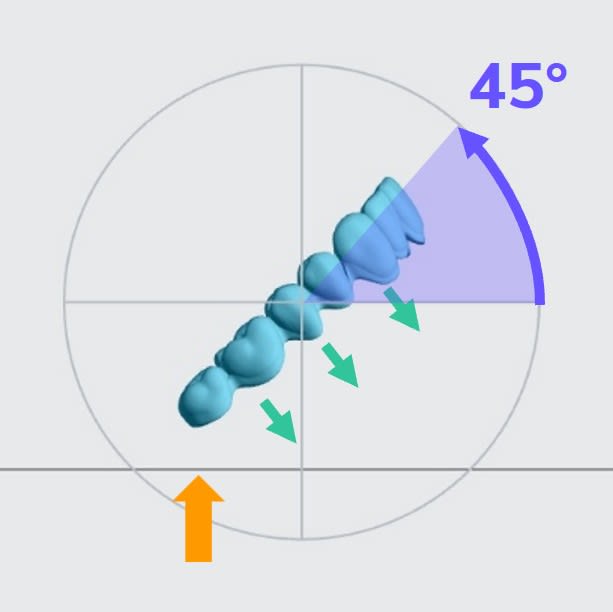
- Rotate full arches to 45 degrees from the platform with the posterior at the platform.
- Intaglio surfaces should face the platform.
Supporting
See Supports for detailed information.
Select the Supports tab in the top bar or press Shift + S.

In the bottom bar, toggle Overhang Detection on and set the angle to 40 degrees.

Also in the bottom bar, set Toggle Platform to off.
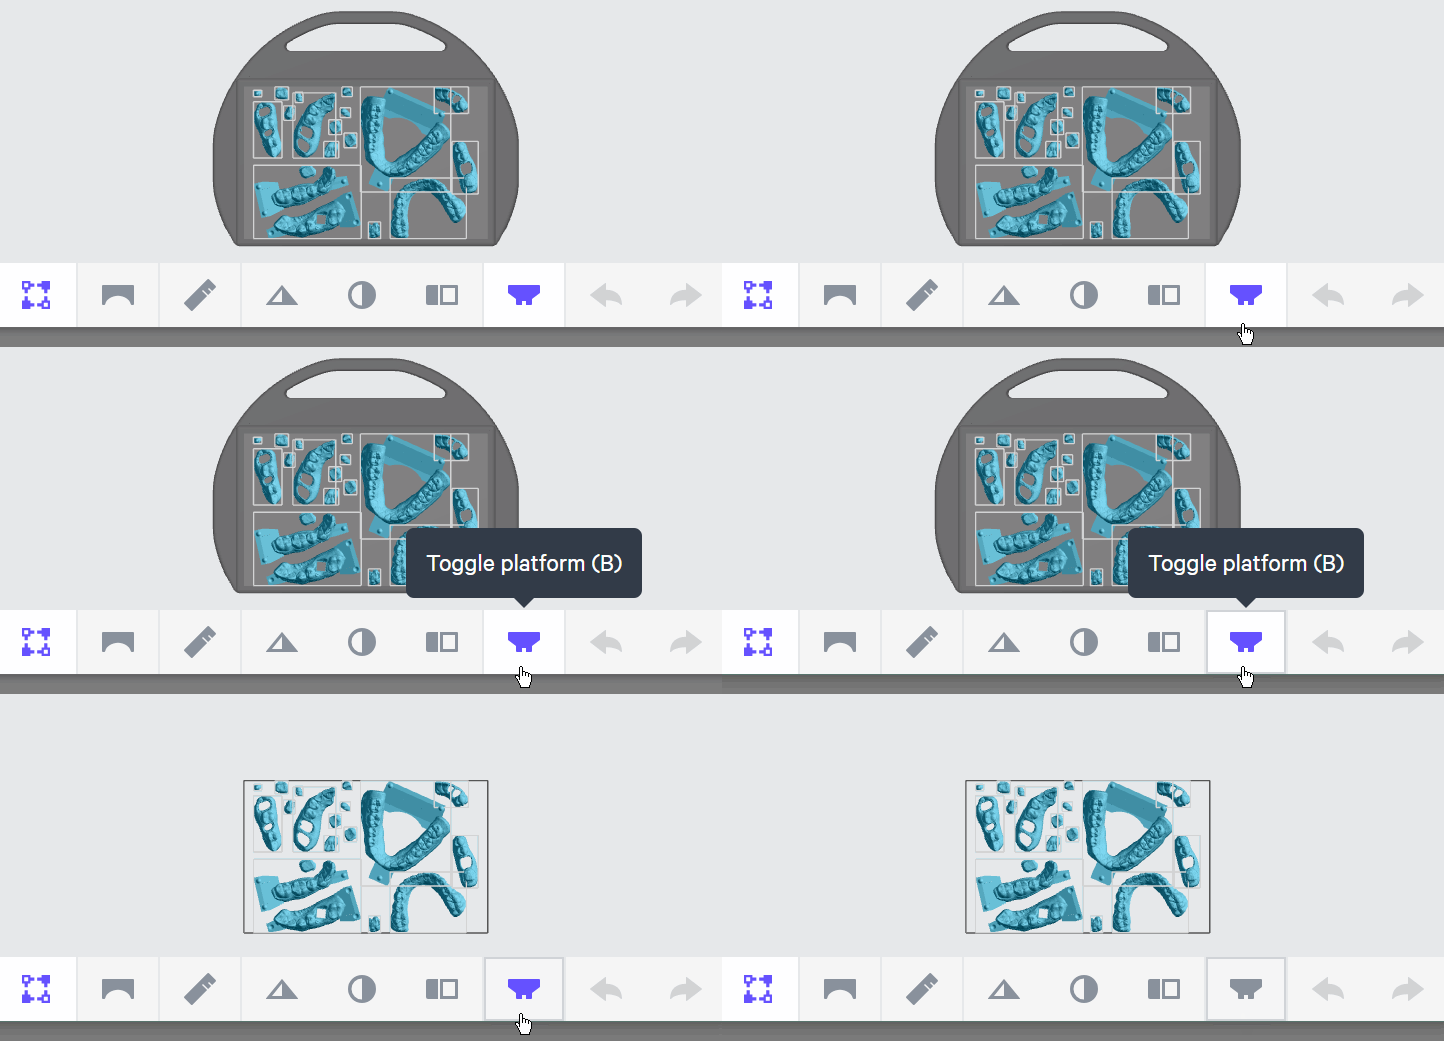
Set Part Postion to Above.

Support basal surfaces with patches.
- Set Primary Support Fill Type to Boundary Fence Only.
- Avoid adding supports to intaglio surfaces.
- In some cases, bar supports may be added in addition to fence supports.

Bridges
Orientation
For detailed information about orienting parts, read Orient.
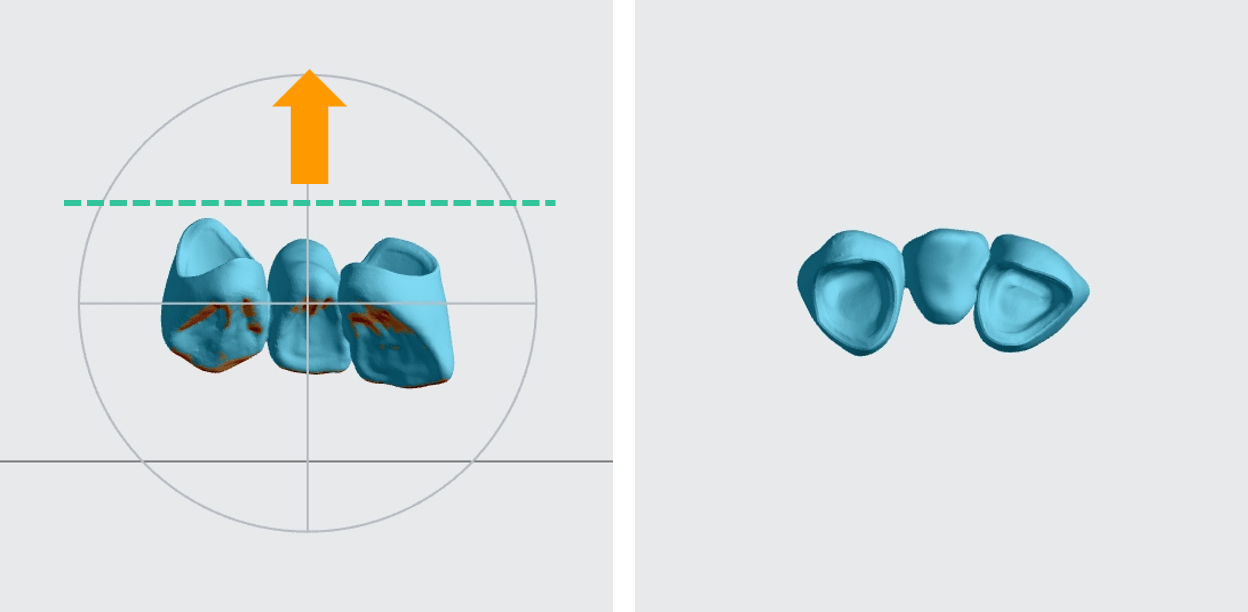
- Rotate bridges so that intaglio surfaces are facing away from the platform.
- This should eliminate overhangs (and the corresponding need for supports) on the intaglio surfaces.
- Top surface of the bridge should be approximately parallel with the platform.
Supporting
See Supports for detailed information.
Select the Supports tab in the top bar or press Shift + S.
In the bottom bar, toggle Overhang Detection on and set the angle to 40 degrees.
Also in the bottom bar, set Toggle Platform to off.
Set Part Postion to Above.

Nesting
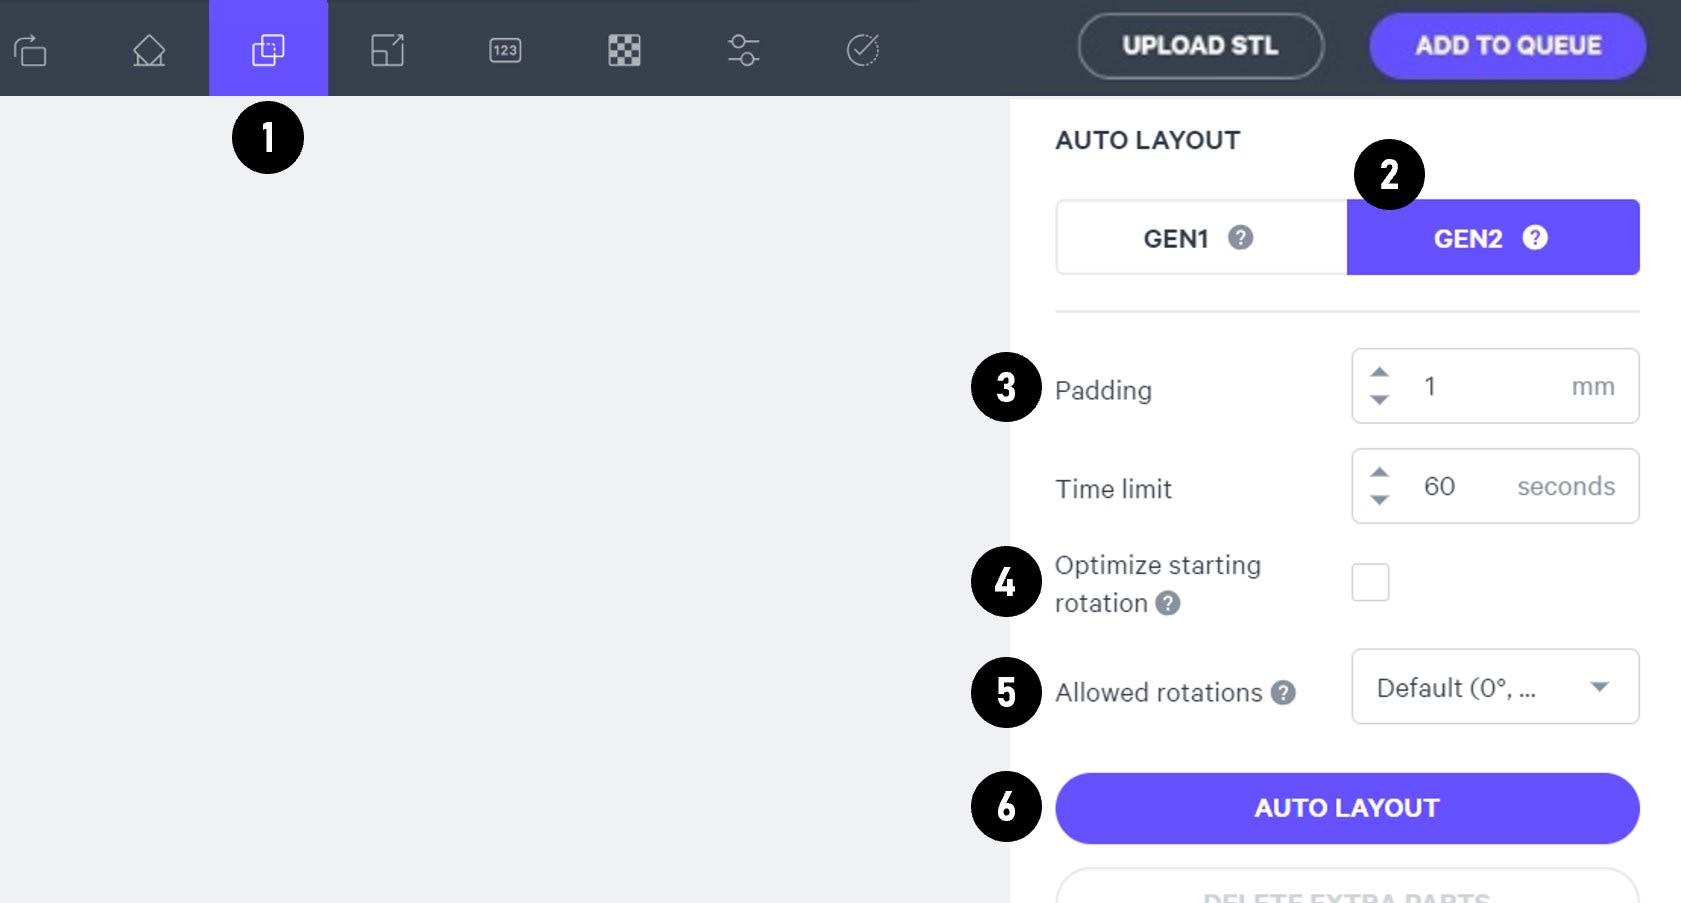
Select the Layout tab (Shift + L) in the top menu bar.
Under Auto Layout, select Gen2.
Gen2 usually gives the most efficient packing for dental devices.
Enter at least 1 mm in Padding.
Models require a minimum of 1 mm of space between them.
Leave Optimize starting rotation unchecked.
This leaves your parts in their previous orientations.
Leave Allowed rotations at the default setting.
This gives the software maximum flexibility to fit the most possible parts on the build platform.
Press the Auto Layout button to arrange your parts.
If necessary, nesting can be changed manually:
- Click and drag parts to adjust their position.
- Modify Z rotation by using the Spin tool or manual rotations under the Orient tab (Shift + O).
- Use the Part List tab as needed to more easily select models and focus on them.
Print Controls
Click Print Controls or Shift + P in the top menu bar.

Slicing
Set Slice Thickness to Standard (100 µm).

Reducing the slice thickness by choosing the Fine (50 µm) or Super-fine (25 µm) settings will increase print time and may reduce part quality and accuracy.
Project Analysis
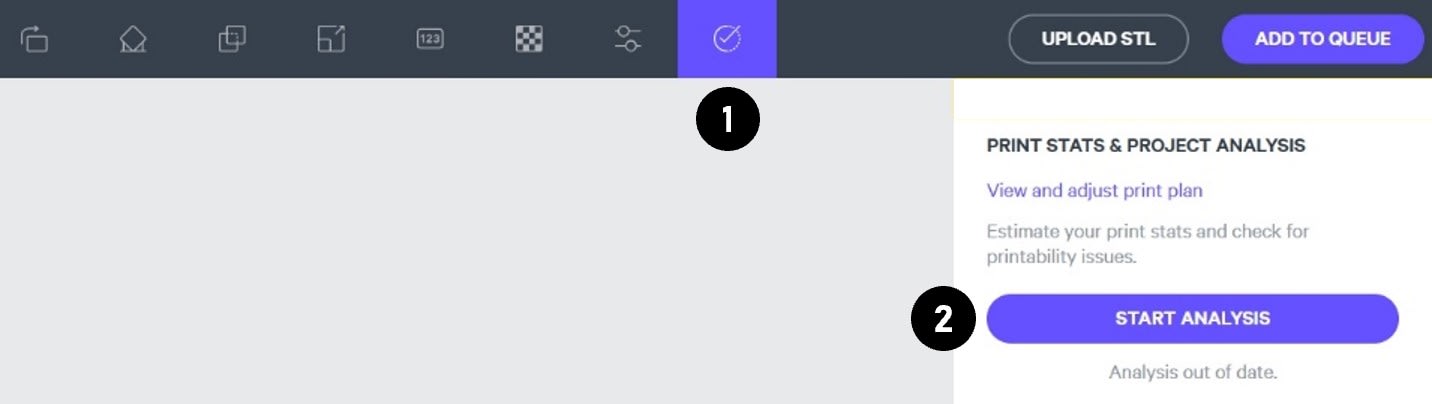
On the top menu bar, select the Project Analysis tab (Shift + A).
Press Start Analysis.
After a short time, the result of the project analysis will be displayed. Note the print time and the required resin volume.
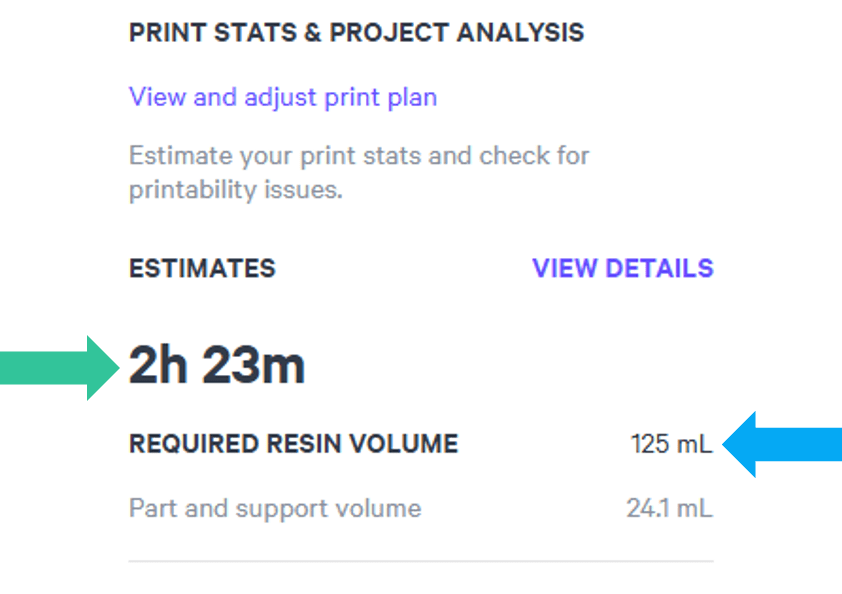
Click Add to Queue.

Printing & Post-Processing
Consult the manufacturer IFU for dispensing, printing, washing, curing, bonding and finishing information.
Scroll down to 'Instructions for Use' and click the appropriate region.
Questions & Support
For questions about the resin properties, printing, washing or curing your parts, please contact the Vita support team:
- Phone: +49 7761 562 222
For questions about your Carbon printer or Carbon software settings used for this resin, please contact Carbon:
- Email: [email protected]
- Phone:
- U.S. and Canada 1-650-285-6307 option 2
- Germany +49 6102 5790849
- UK +44 (0) 2082 647484
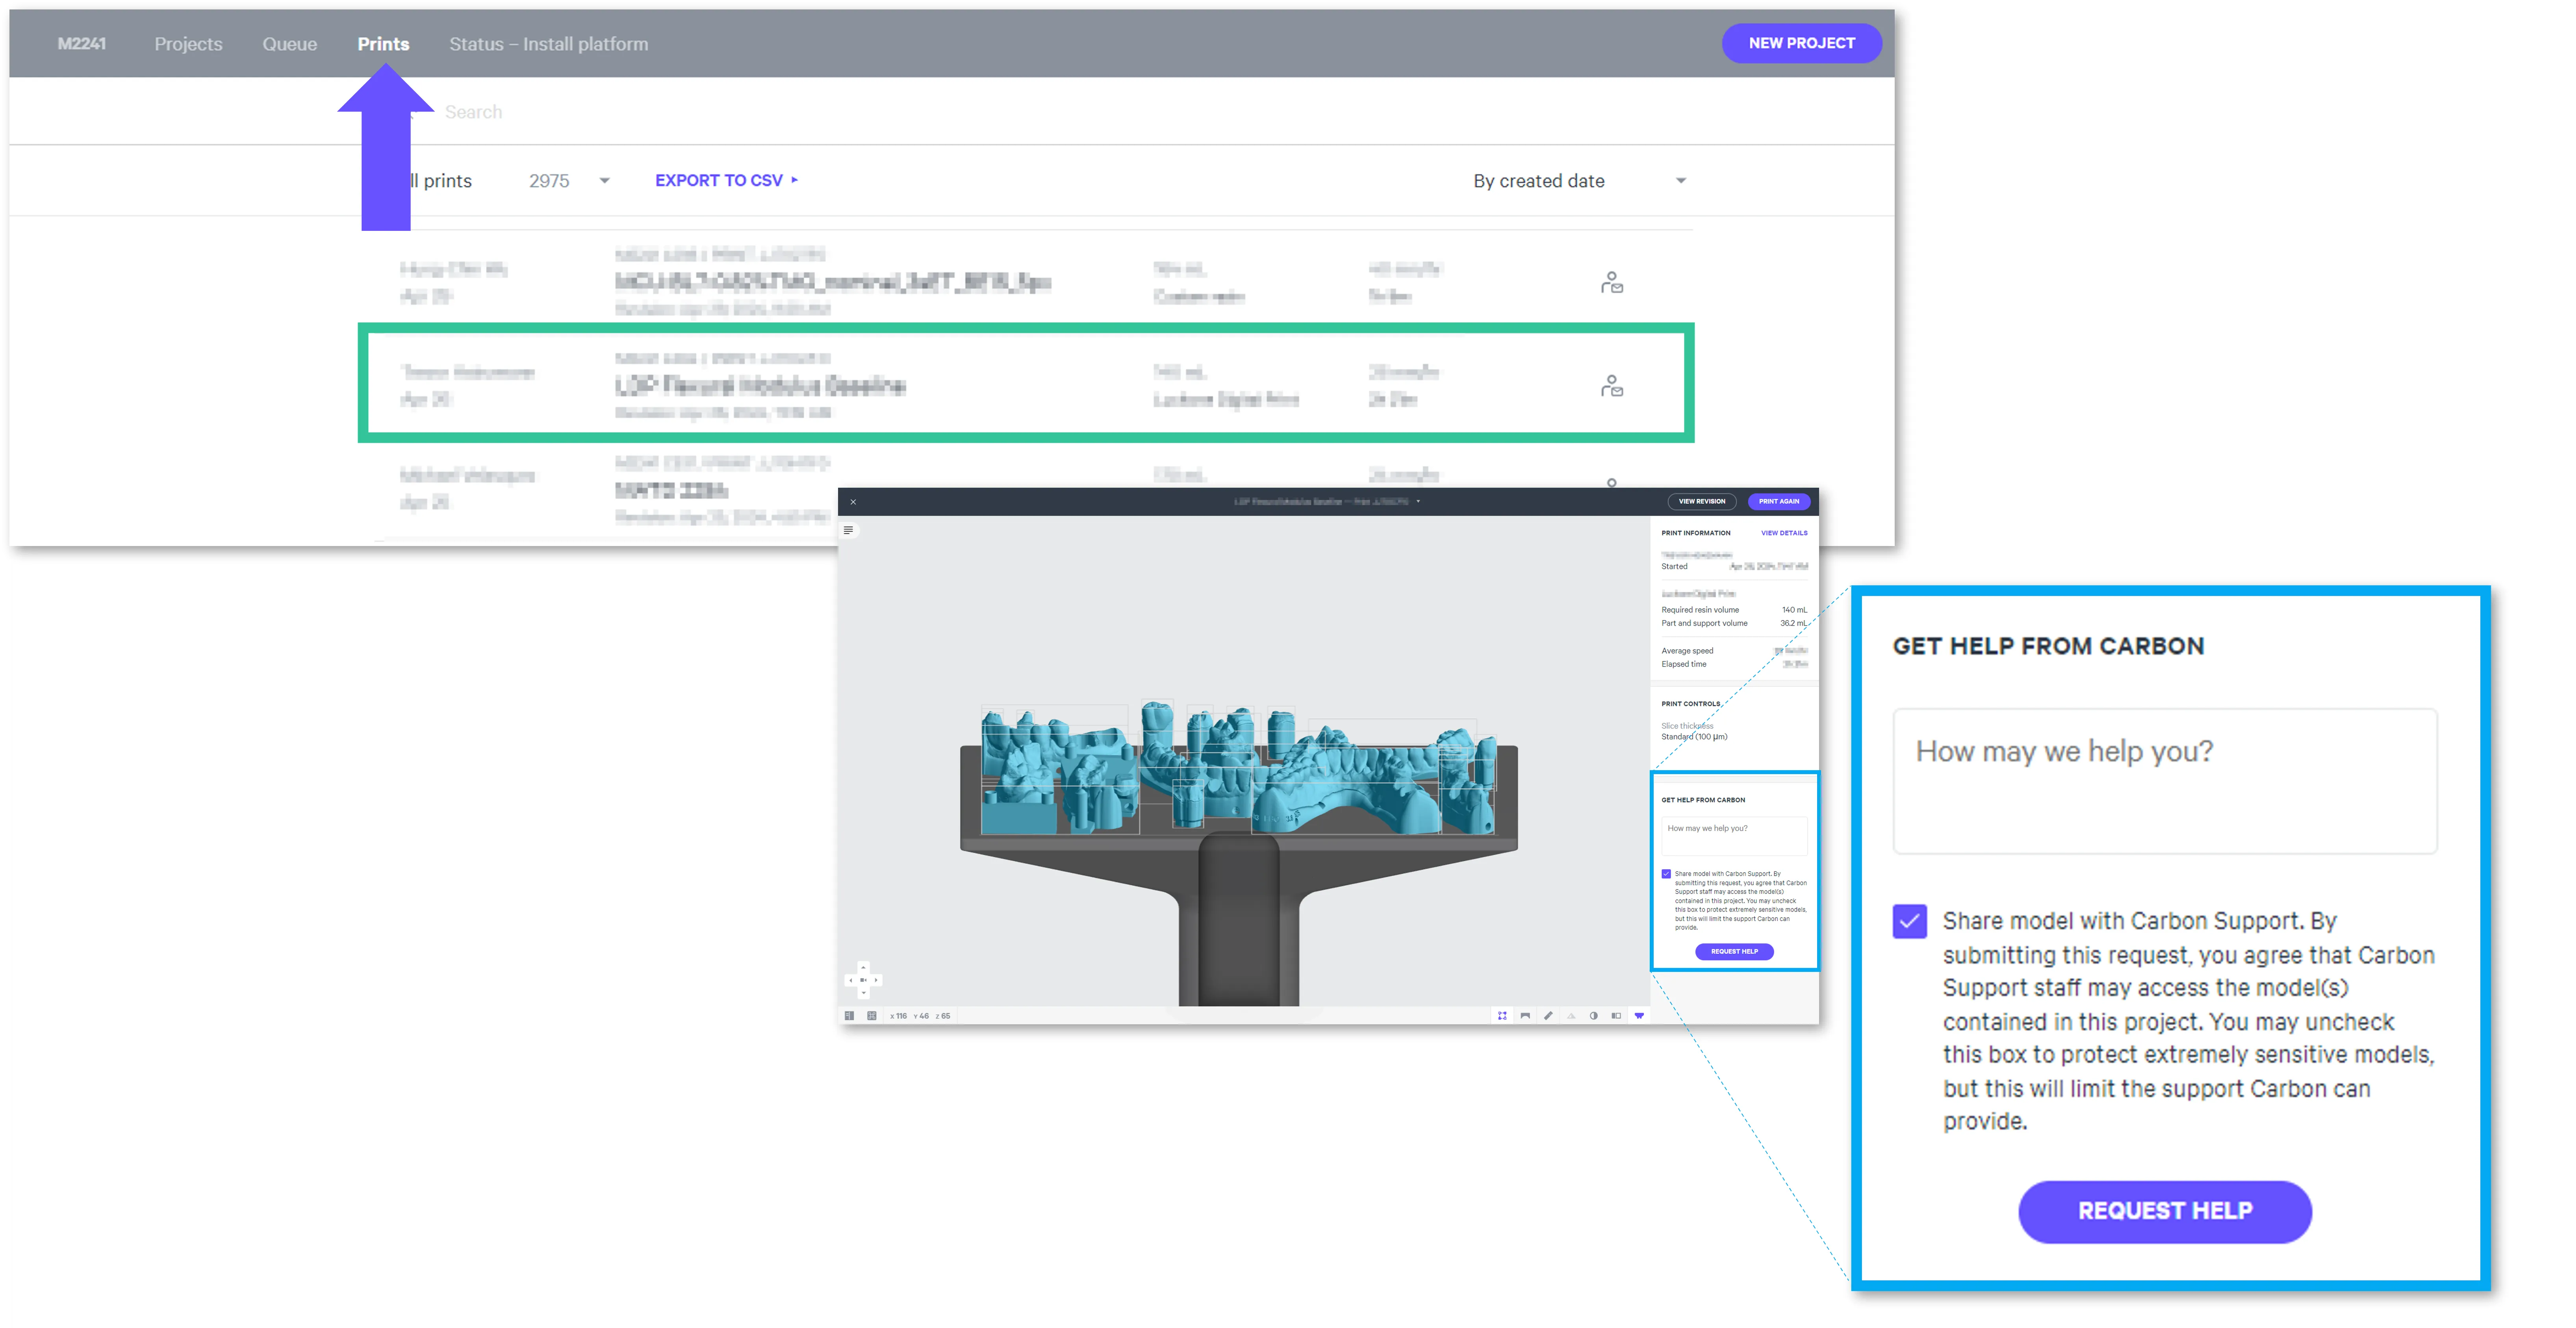
- Printer UI: On the dashboard, select the Prints tab. Select one of the printed projects. Click Request Help in the lower right corner.