Delamination
Delamination
The part has disconnected slices with horizontal, eye-shaped holes.

How to Identify
Delamination can be diagnosed as follows:
- Holes are horizontal on the platform side of the hole and curved away from the platform.
- Flat surfaces, parallel to the build platform, print with a rippled surface.
This is a rare failure and should be one of the last options considered when troubleshooting projects in production.
Cause - Inconclusive
Cause - Inconclusive
Cause - Inconclusive
Troubleshooting
It is recommended that you review all the possible solutions before taking action to ensure you are pursuing the best course of action.
If the best course of action is not apparent, try the troubleshooting options in the order listed. Refer here for more tips.
Process, Material, and Hardware Checks
If any of these conditions apply to your print, take the corrective action and reprint to see if the problem is resolved.
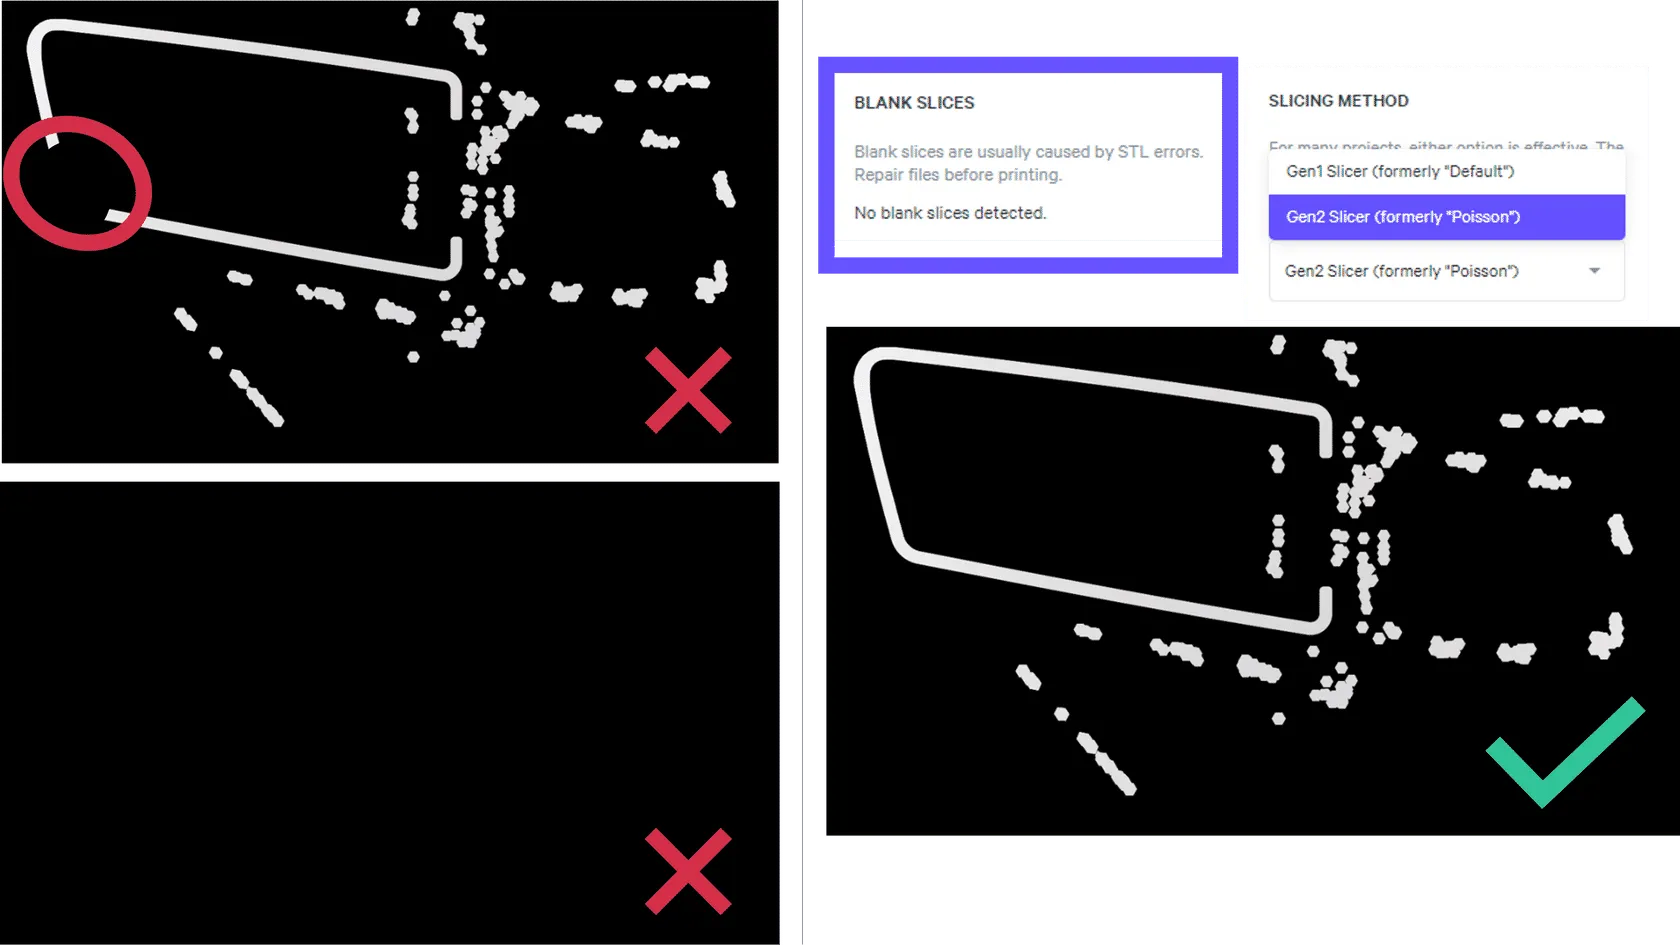
- Check for bad slices
- Look for areas missing in the slice where the defect occurs
- Repair the slicing if bad slices are found
- Repair the part in an stl repair program
Print Preparation or Part Design Adjustments
The following solutions will address print or part-related causes of the defects. Choose among the suggested actions below and select the best approach for your application. Usually, only one type of adjustment is needed.
If problems persist, please reach out to Carbon Support.
Explanation & Causes
Explanation
Delamination occurs when the current slice does not fully cure onto the previous slice resulting in one or more eye-shaped holes as the print proceeds.

Normal Exposure
- The monomers, closest to the dead zone, do not connect to other monomers because the oxygen-rich dead zone is preventing the curing process. These stray monomers remain ready to cure to the next slice, ensuring isotropy.
- Most monomers connect within the slice to solidify.
- Farthest from the oxygen-rich dead zone, monomers connect to stray monomers from the previous slice. This connection between slices is why DLS printing yields isotropic parts.
Delamination
- Same as normal exposure.
- Same as normal exposure.
- Farthest from the window, there is not enough UV exposure to connect the monomers between slices, so the slices are not fully connected.
Causes
Print Preparation or Part Design
How the part is oriented, supported, or designed is causing the defect.

Root Issue | Problem | Why Defect Presents |
|---|---|---|
Slicing Error | Blank or missing portion of slice image | A blank slice or a missing section of a slice can prevent the following slice from connecting properly. |
Resin
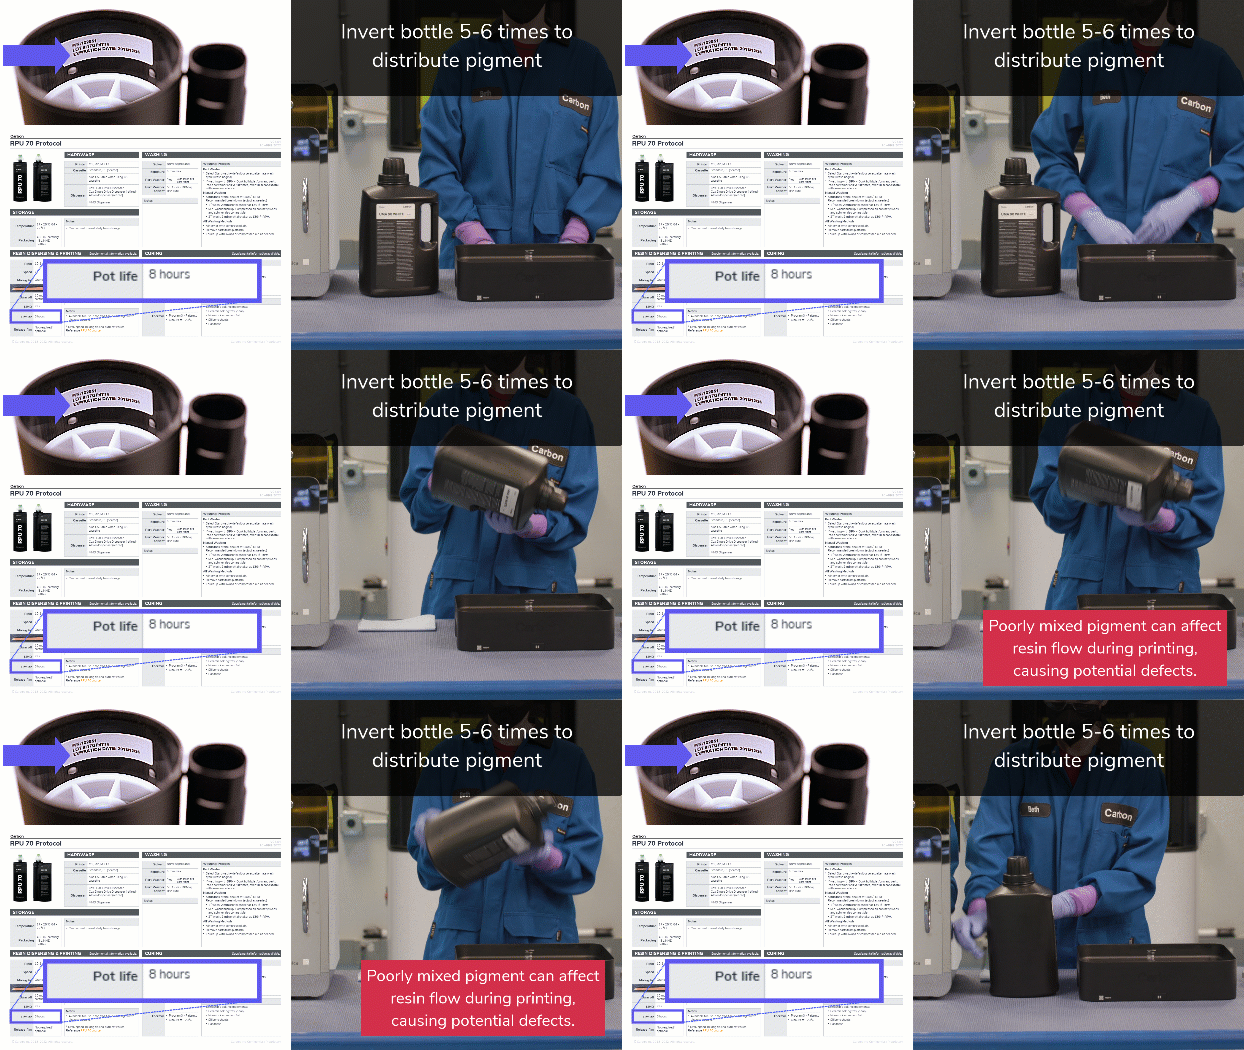
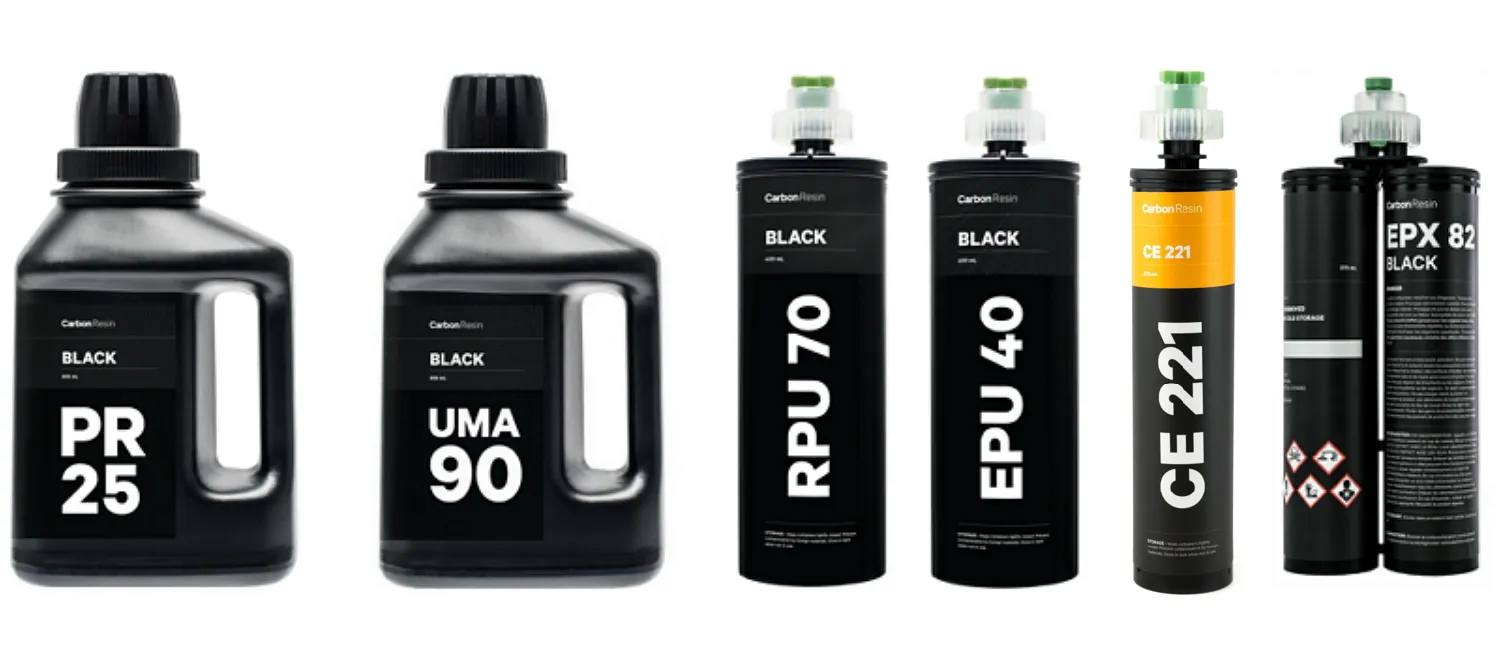
The printing material is expired, beyond the printing range in its pot-life, or has been improperly mixed, causing abnormalities in the print.
Root Issue | Problem | Why Defect Presents |
|---|---|---|
Expired Past pot-life Mixing
| Resin is under-exposed | If the resin is questionable due to any of the root issues, then the standard exposure time for the resin may not properly expose the slices to UV light. When the resin is under-exposed, slices may not connect properly. |
Print Plan Adjustments
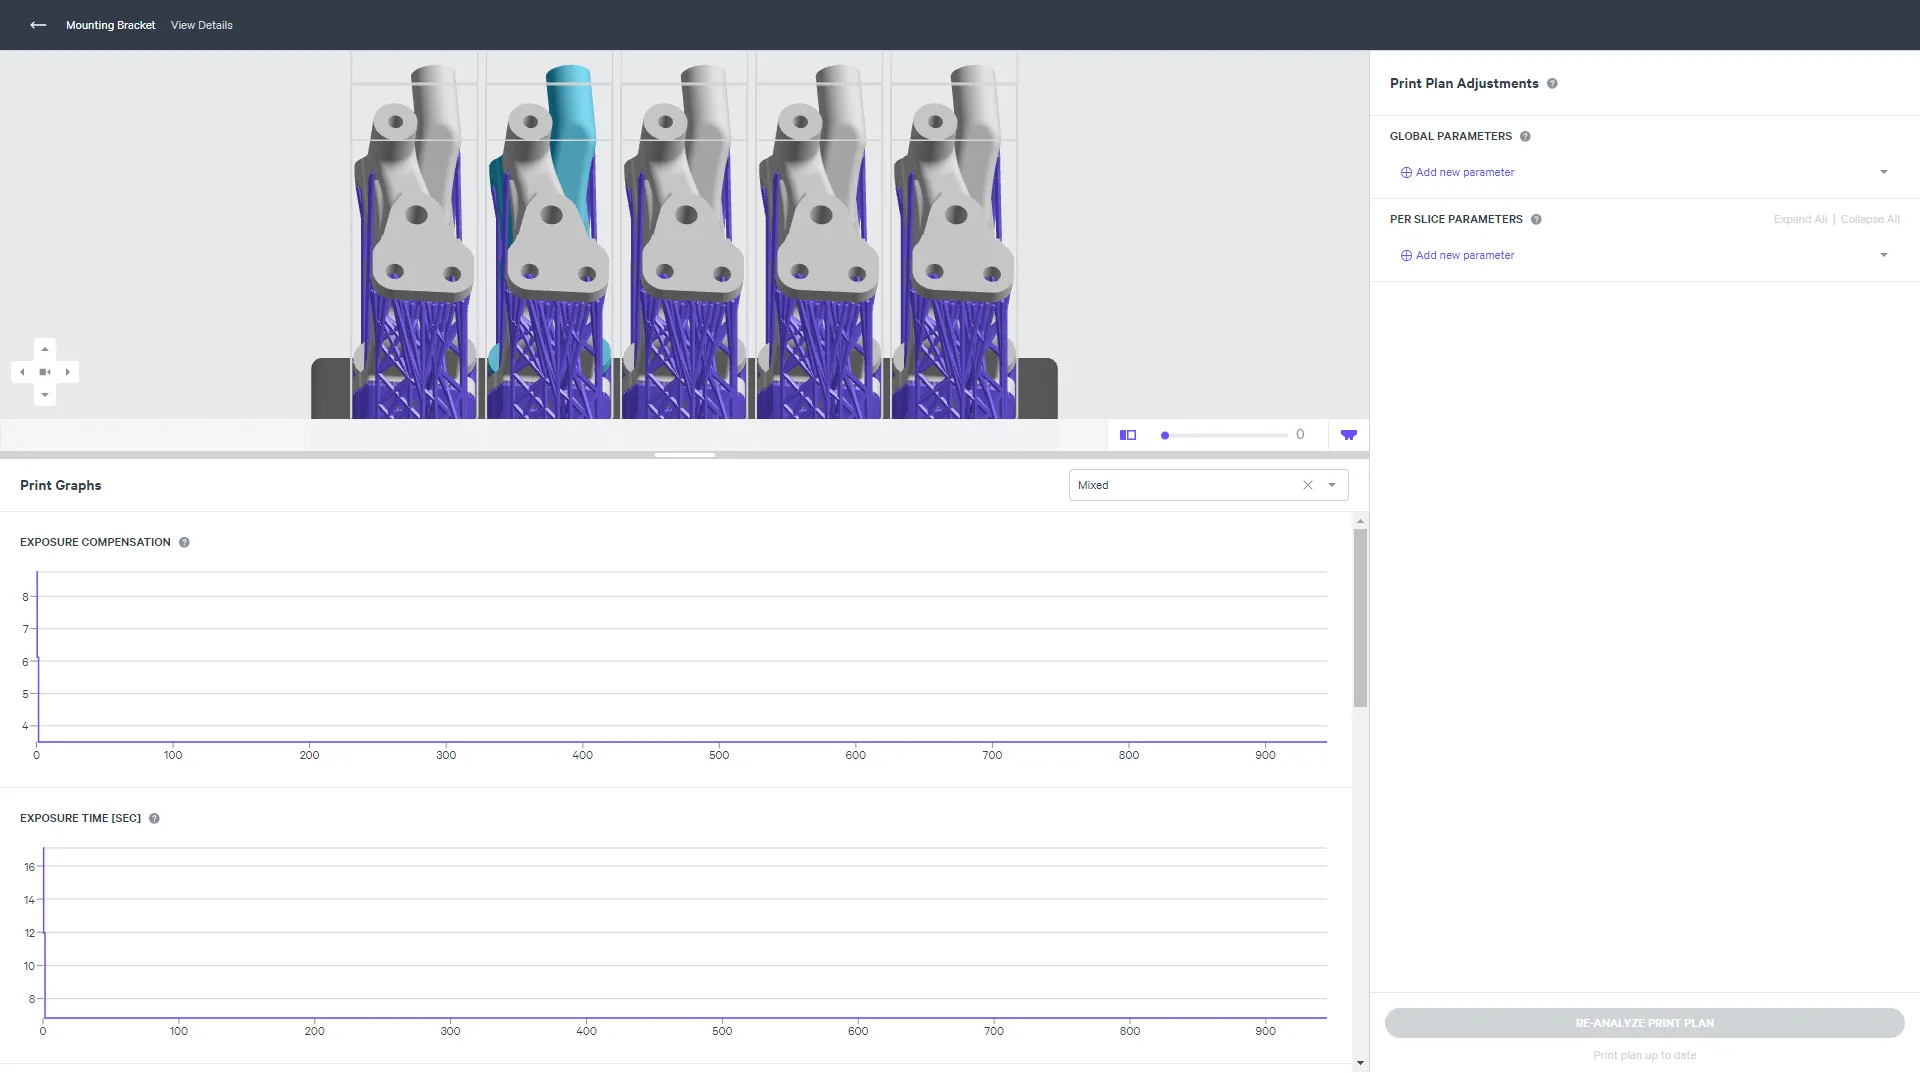
Print Plan Adjustments adjust the print plan to optimize mid to high volume production and/or address part defects.
In doing so, adjustment may both prevent or cause defects. Below are adjustments that can cause this defect.
Printing Stage | Parameter Type | Type of Adjustment | Why Defect Presents |
|---|---|---|---|
5 Exposure | Exposure Timing | Decrease | When under-exposed, slices may not connect properly. |
5 Exposure | Brightlining | Decrease | When under-exposed, slices may not connect properly. |